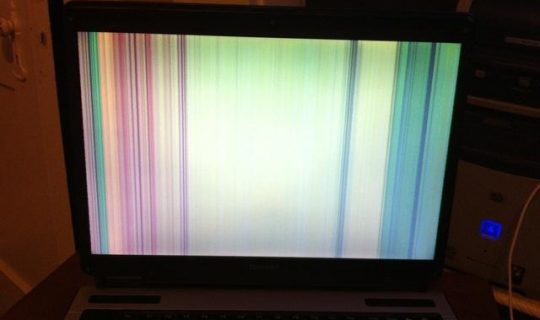
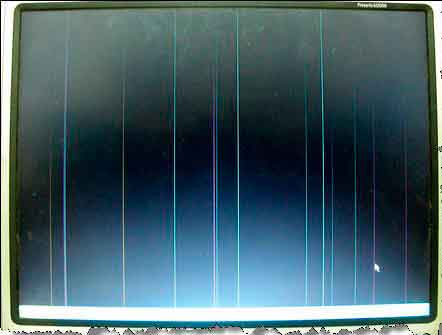
Working with any computer device on the screen of which there are obscure stripes is very inconvenient and even dangerous for eyesight. This is true for any type of visual distortion, which in color can be both black and white (and sometimes multi-colored).
What color the stripes on the screen of a custom laptop will be depends on the reason for their appearance, which in each case will have to be dealt with separately. After reading this article, the user will be able to navigate this issue and find the cause of the malfunction on their own.
The reasons for the appearance of stripes
The functional module responsible for displaying the image is usually located on the video card board (in the latest product models it is most often integrated into the CPU). Information from this node, controlled by the motherboard, is transmitted directly to the screen via a ribbon cable.
From this it follows that the interference occurs due to problems arising in one of the following components of the system:
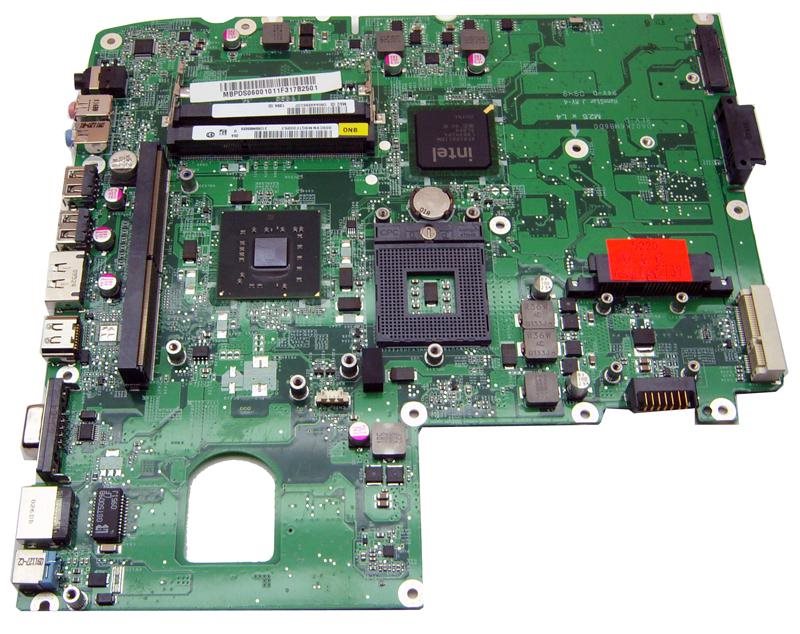
- Motherboard (main board).
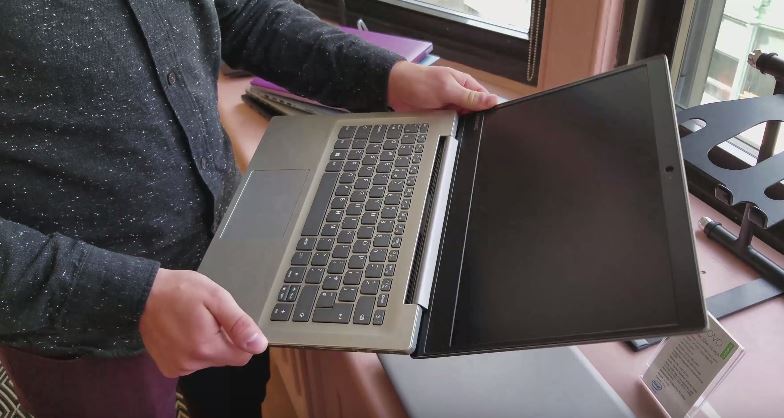
- The monitor display itself (more precisely, its matrix).
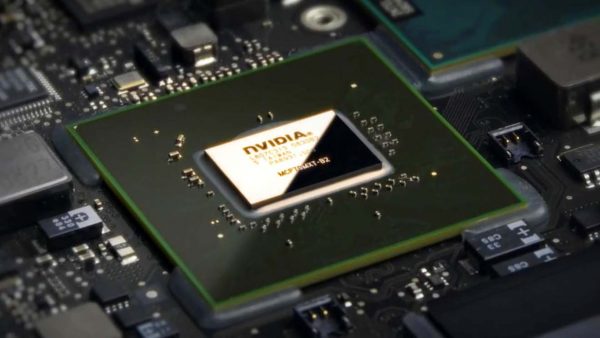
- Integrated graphics card.
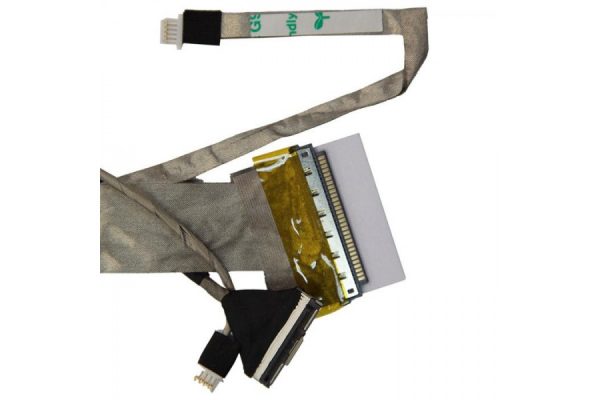
- Connecting loop.
Let us consider briefly the influence exerted by each of these components on the formation of spurious bands, which by their nature are divided into horizontal and vertical.
The motherboard is rarely exposed to accidental damage, resulting in image distortion. If it fails for one reason or another, then the image on the screen disappears completely. Video card malfunctions that have a certain effect on picture quality are a more common cause of violations in the operation of its output channel to the display.
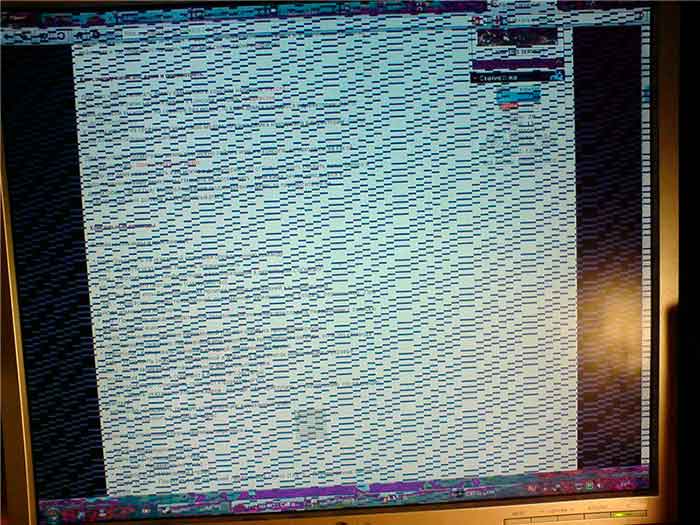
Note! A malfunction of the video card (due to overheating of the chip, in particular) is manifested either in the form of stripes of various colors and ripples, or in the distortion of straight lines.
Various troubles can occur with the loop, including its clamping and subsequent breakage of individual cores. As a result of this, the control channels of the display are often violated, and stripes form on it or the screen flickers.
The most likely cause of deviations in image transmission is the failure of the matrix itself. This is due to its fragility, so that due to the slightest carelessness, you can damage the surface of the screen. Another possible, albeit rare cause of this malfunction is a malfunction in the driver. Experts recommend starting the search by checking the drivers of the main modules.
Diagnosing problems
The presence of several sources of formation of unwanted bands on the monitor forces us to diagnose the cause of their appearance more accurately, that is, find a specific place of its occurrence. In service centers, special diagnostic equipment is used for this. But even in domestic conditions, to carry out such operations is not difficult.
If there is data on the possible causes of the problem with the image - conclusions on how to repair a laptop can be done independently. Consider one of the known diagnostic techniques that can accurately identify these causes.
Using an optional monitor
Diagnosing the problem is greatly simplified if the user has another known-good monitor.This method allows you to exclude from consideration the main (system) modules, namely, the video card and the motherboard.
An additional monitor is connected via a special VGA connector.
If the distortion on the screen (stripes) disappeared when you connected a functioning monitor, this means that the cause of their occurrence is a faulty display and that the video card and main board have nothing to do with it. In the case when the same picture appears on the serviceable monitor as on the native one - the reason should be found in the motherboard and video card (the display and the cable input connector are in perfect order).
Strip types
The stripes appearing on the display screen can vary both in color and in shape and orientation in space. In accordance with the first two signs, they can be:
- White or black.
- Colored.
- In the form of straight or broken (distorted) stripes.
According to the third feature, they are divided into horizontal and vertical lines. By the appearance and orientation of the stripes appearing on the image, one can judge to some extent the source of a possible malfunction.
The video card stopped working
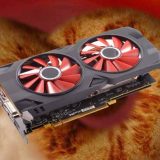
Failures in the video card are one of the most common problems leading to stripes and other deviations.
For a more detailed diagnosis of the malfunction that has arisen, it is necessary to follow the order of its manifestation, namely:
- You should turn on the laptop and detect the moment when stripes are detected.
- If this happens immediately after it is turned on, the video card is most likely to do with it.
- In the case when the image is distorted after some time (after 5-10 minutes, for example), it can be assumed that the fault lies precisely in the video card chip.
As the device enters the operating mode, the microchip gradually overheats and at some point begins to "junk". When diagnosing a video card, the first thing to do is make sure that there are no difficulties with the cooling system.
To do this, you will need to check the operability of the cooling nodes of the laptop, including testing the cooler located on the video card board at working speeds. If it is not possible to control the operation modes of the fan, you should try to check its operation programmatically.
Note! The same method is resorted to when the bands occupy only part of the monitor screen.
For software verification, you can use a special utility through which it is possible to display data on the heating of individual components.
If thermal deviations are detected (the exact temperature values can be found by using the HWMonitor program), remove the bottom cover of the laptop and clean its inside of dust. In addition, you can update the thermal paste layer on which the chip is mounted. Experts also advise trying to put the laptop with the cover removed on an artificial stand with additional fans and again check its temperature conditions.
If deviations disappear, the reason is poor ventilation of the internal spaces.
In the process of updating thermal paste, you need to pay attention to the appearance of the chip. If traces of soot are clearly distinguishable on its body or on the radiator, this indicates a product failure.
Motherboard failure
From the point of view of self-diagnosing a problem device, its main board is one of the least controlled notebook modules. To find out the exact causes of its malfunction, the best option is to take the product to a specialized workshop or service center.
Only well-trained craftsmen with special equipment will be able to inspect the elements of the motherboard and vyvit true sources of stripes.
Note! The most likely cause of its malfunction is the oxidation or burnout of individual elements.
Due to the complexity of manufacturing the main board of the laptop, its restoration even with special equipment is an almost impossible task. That is, with confidence that this particular board is the cause of the malfunction, most likely, you will have to replace it with a new one.
The matrix is corrupted
It is possible to verify that the cause of the malfunction with a high degree of probability is the matrix itself or the loop connected to it by carrying out the following simple manipulations:
- First, you need to open a bright picture with rich color schemes on the screen.
- Then, with a slight effort, press on the surface of the monitor in the area where suspicious stripes are detected.
It is recommended to check the display itself by bending it slightly in various planes or by changing the angle of inclination.
In a situation where, when pressed or bent, the number of strips increases noticeably or they immediately change color - the cause of the malfunction is most likely hidden in the matrix or at the point where the cable is connected.
The same reason is indicated by a violation of the individual colors of the image. This occurs, in particular, when color fading is added to the stripes on the screen (the picture is displayed in black or white).
Faulty loop
When it is established that the video card, the motherboard and the matrix of the laptop are probably working - the user only needs to test the cable connecting the individual modules. To do this, it is necessary to perform simple operations associated with its deformation or kink.
Important! Since the ribbon ribbon when opening and closing the lid is in constant motion - it can be damaged (pinched) in some places.
This, most likely, is the source of the formation of bands of various colors and orientations.
Therefore, you will need to carefully observe the image at various positions of the cover, located at one angle or another. If, with a fixed slope of it, the stripes begin to disappear or change their position relative to the base point, this indicates a problem in the laptop’s cable.

 What to do if the keyboard does not work on the laptop
  Why is the battery indicator on the laptop blinking
  Lock and unlock the keyboard on laptops of different brands
  How to check and test a video card on a laptop
  Why the laptop does not connect to Wi-Fi
