Most people have cars. Due to the increase in the number of vehicles, there was a problem with parking and monitoring the situation behind the car. Sometimes when parking there is very little space, and a wave of emotions begins, as if not to hit the car. A rear view camera will come to the rescue, which will provide a proper overview. Installation is made at the rear of the vehicle. Compatible with any type of car (bus, truck, etc.). With a rear view camera, parking will be much easier.
It is possible to install on the trunk lid or bumper of the car. It is small in size and will not spoil the look of your vehicle. To display pictures from the camera, you must have a monitor in the car. Suitable built-in or universal.
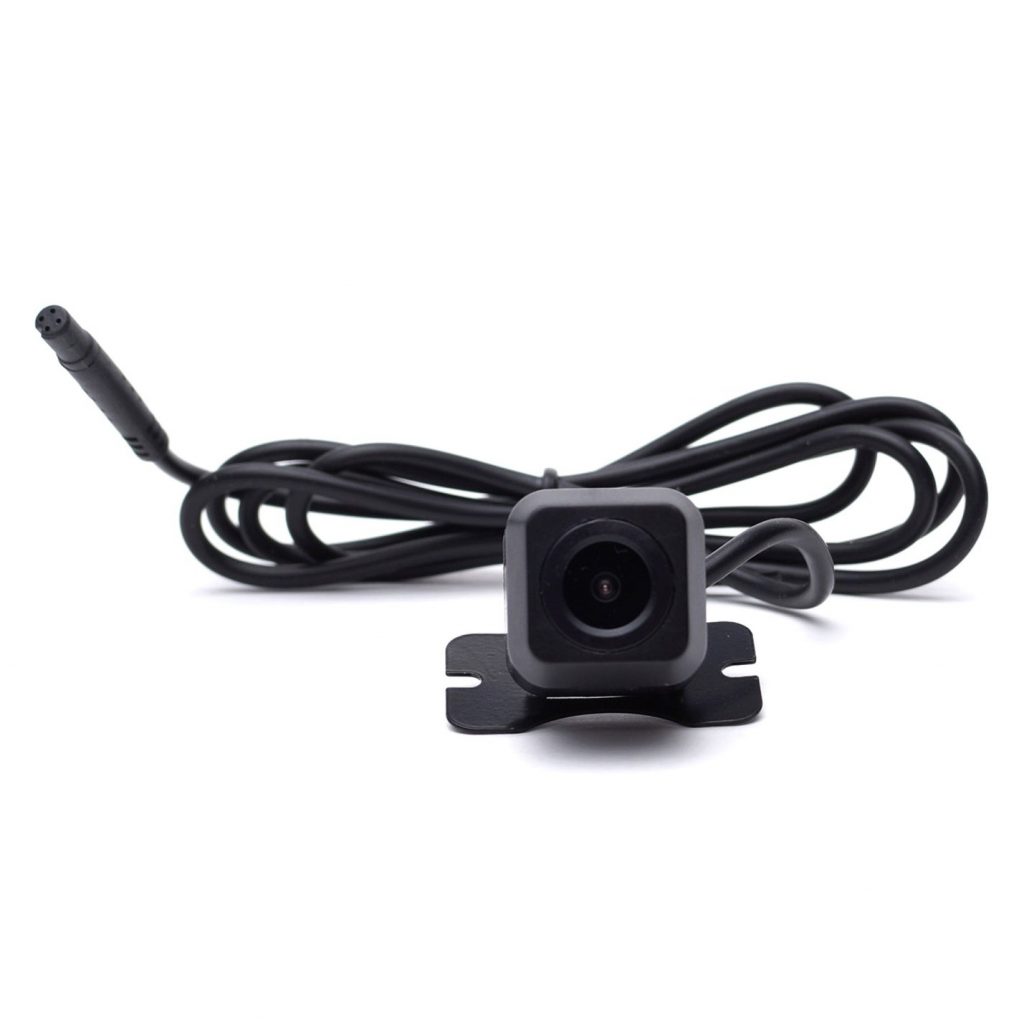
Appearance of a standard camera
In some cars, monitors are built into the rearview mirror. How it works? If the camera is not active, then you get a reflective surface to control the movement behind. But when turned on, the image is transmitted from the camera to view the rear view on a monitor built into the mirror. However, the image does not appear on the entire plane of the mirror, but only in a small area, so as not to interfere with monitoring the status of passengers from behind.
How to choose
You need to know that many devices are in addition to a GPS navigator. To prevent embarrassing situations, it is advisable to find out from the seller. For example, the company INTRO, produce cameras for cars of certain brands, adapting to their features. Attention should be paid to the specifications.
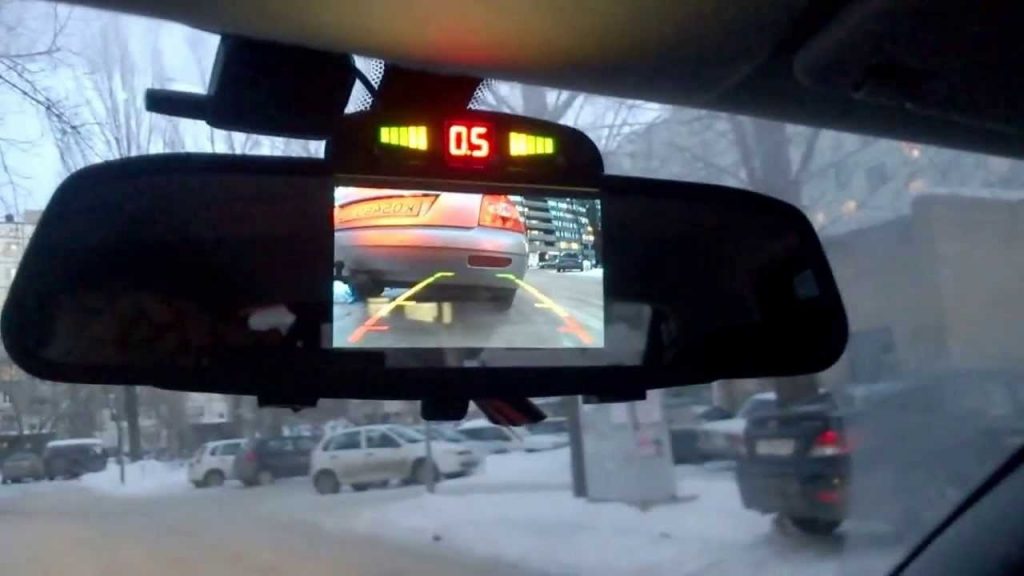
Screen example
Main characteristics:
- Image transmission color (black / white / color);
- Work in low light;
- Viewing angle;
- Image resolution;
- Protection against water ingress;
- Marking for parking. It will help to more accurately determine the distance from the bumper to the object;
- Matrix CCD or CMOS. CCD-matrix will provide better image quality compared to CMOS, and also has better photosensitivity, which will provide a clear picture in the dark;
- Installation method. There are mortise, but you have to drill a car on the license plate frame.
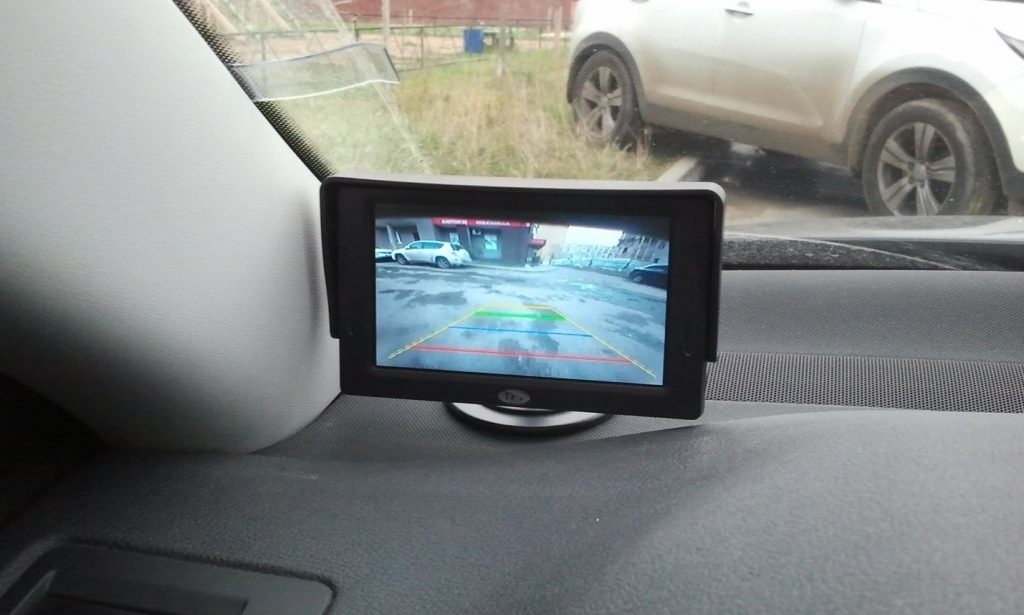
Distance calculation system
Like any product, the device is worth the money. It all depends on the budget. No need to search for a product with a low price. Thus, the risk of failure of the device will be reduced. You should also check with the seller for the warranty period. It is recommended to take goods with a warranty period of at least one year. This will save you from the cost of repairing defective products.
How to install
First you need to choose a place. For help with positioning, there are 3 simple questions:
- How much is this place prone to pollution?
- Will it be invisible so that the device is not stolen?
- What kind of shooting angle is needed?
Are you a truck owner? Then you should think about placing the camera on the roof of the car. This place is the most protected from dirt, but to monitor the cleanliness of the lens will become more difficult. For an inconspicuous installation, you can make a small mount that will be shorter than the one that comes with the kit. However, the size depends on the specific vehicle. Let's move on to adjusting the viewing angle. You can set it so that the camcorder shoots areas that are not visible in the side mirrors. However, it is necessary to set so that the objects around look the most natural way.
Having chosen the installation location and the required angle, it is now necessary to connect the camera to the car using wires. Consider installation on a license plate. To connect the power used car network, which produces 12 volts.

Connect device interfaces
First you need to dismantle everything that prevents you from getting to the right wire.
- Open the boot and remove the trim. Then dismantle the plastic sills, in order to get to the wires of the car radio. Only if the image will enter the screen of the integrated multimedia equipment.
- Remove the radio to gain access to the wires. Next, take the instructions for the car radio and examine all the connectors. Instructions for connecting to the radio are included with the device. Then you need to find the wire that feeds the license plate light. Also, you can connect to the reversing lights.
- When connecting, the main thing is not to mix the wires, otherwise a short circuit will occur. An important point. When assembling, it is necessary to check the place where the wires are located, there should not be moisture. If wet spots are found, wipe with a dry cloth, this will help to prevent a fire in the vehicle wiring.
- Before you return everything to its place and lay the wires, the device must be tested. To check the operation, it is enough to include reverse gear. The camera should turn on automatically and an image will appear on the monitor. If there is no image, the installation was not performed correctly. If you are not confident in your abilities, it is worth contacting a service station.
Wireless Installation Method
However, if you do not want to bother with wiring, there is a wireless way to connect. A huge plus is the easy installation. However, there are also disadvantages. Namely - signal transmission at a short distance, only 15m. Also, the signal is subject to distortion from electromagnetic interference.
For connection, a radio transmitter is used, which is installed on the camera and monitor. You can also use the built-in Wi-Fi module, if any. This will transfer the image to your device. And it does not depend on your operating system (Android, iOS).
Top 5 best cameras
Next, we will consider the best cameras for viewing the rear view:
1. INCAR VDC-002

INCAR VDC-002
This device represents cameras with a mortise design. Inside is a high-quality sensor made using CMOS technology with an impressive resolution of 628x582 pixels. According to this indicator, this device bypasses all its competitors. Provides the best possible visibility and high contrast image at any time of the day. For some, the mortise design seems to be a minus, but this ensures sufficient secrecy of the device. This is the best car camera for viewing rear view with a mortise type of installation, and deservedly gets the first place in our top ratings of rear view cameras. The price is 2300 rubles.
Pros:
- A high resolution;
- Great image at any time of the day;
- Stealth.
Minuses:
- Complex installation process.
2. Avis 985 CMOS

Avis 985 CMOS
This device has a large viewing angle, although it does not reach 170 degrees. When parking, the image is overloaded with the environment, which in this situation adds inconvenience. Provides good quality shooting. It has infrared light, to improve the image in the dark. The price is 2500 rubles.
Pros:
- Durable mount;
- The presence of infrared illumination.
Minuses:
- Lack of vertical adjustment;
- Bad connector on the camera cord.
3. Rolsen RRV-180
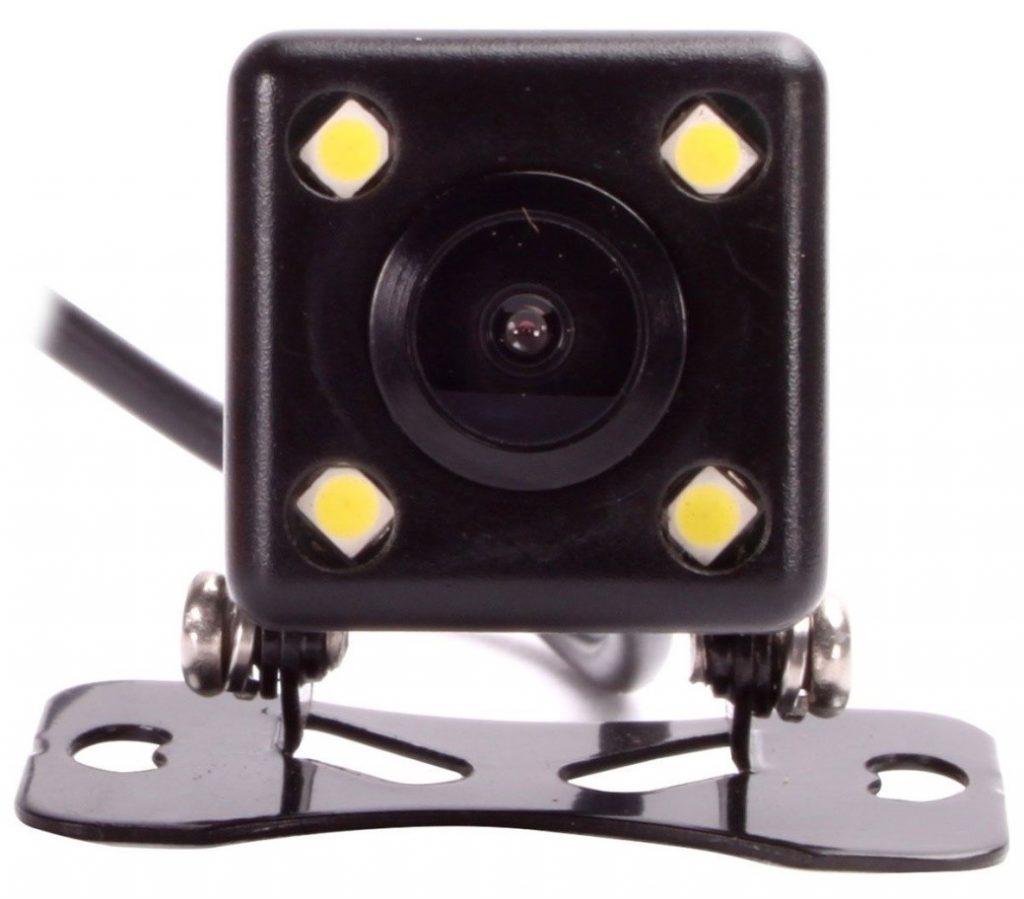
Rolsen RRV-180
The camera is small and easy to install. Ideal for beginners. It has infrared illumination to improve the image in the dark, but not much, as it is rather weak. The body houses a CMOS-matrix with a resolution of 0.3 megapixels. The price is 1100 rubles
Pros:
- Ease of installation;
- Small size.
Minuses:
- Weak infrared light.
4.AutoExpert VC-214

AutoExpert VC-214
This device offers the same features as the flagship models, but the cost is much lower. The main element is a matrix made using CMOS technology. Resolution is 648 × 488 pixels. However, there is a slight minus. The device has a low photosensitivity, only 0.6 lux. In low light the picture will lose contrast. However, in the budget segment this is undoubtedly the best solution. The price is 1550 rubles.
Pros:
- Excellent signal quality;
- A high resolution;
- Price.
Minuses:
- Poor image quality in the dark.
5. AutoExpert VC-206

AutoExpert VC-206
This camera has interesting properties. It has the ability to rotate the optics relative to the housing. Only this one feature puts a huge plus and distinguishes it from competitors. According to the manufacturer, the camera provides a degree of protection according to IP68. Fears to disable the camera while driving through puddles or while washing the vehicle can be safely discarded. Unfortunately, the pros end here, and we move on to the cons. The downside is the low photosensitivity and a weak 0.3 megapixel sensor. The manufacturer's 170-degree review is a clear exaggeration. Suitable for parking, but to record the movement of this will not be enough. The price is 1800 rubles.
Pros:
- Fine-tuning the viewing angle;
- Excellent moisture protection.
Minuses:
- Low resolution image;
- Poor visibility in low light;
- It is necessary to drill the car body for installation.
Total
In this article, we examined various rear view cameras for cars. Now you know why they are needed, how to choose the right one and how the device is installed on the car body. Now you are not mistaken with the choice, we wish you a successful purchase.
 Top 5 best off-road electric scooters
  TOP-5 electric meat grinder 2020
  12 best electric toothbrushes
  12 best overlocks
  20 best gas hobs