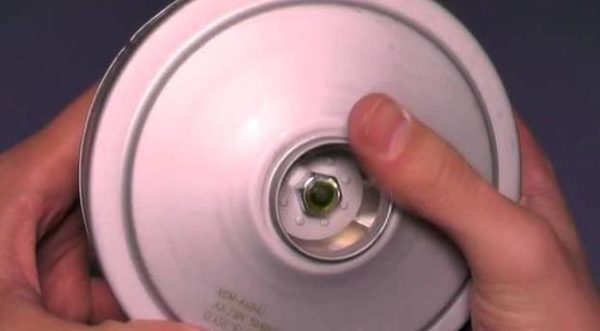
There is always such a situation when the master first encounters with the fact that he cannot understand how it can be disassembled correctly and quickly vacuum cleaner motor after I got to him. The reason for this is incredibly simple. There is a small nut in the engine that holds this entire assembly fully assembled. In addition, it is very well attached with high-quality sealant and at the same time constantly rotates simultaneously with the motor rotor.
On a note! Do not try to lock the rotor or the anchor installed in the electric motor of the vacuum cleaner with a screwdriver or any other metal object. This does not help to unscrew the nut and can cause damage to the motor winding, which then can not be repaired by yourself.
Each of the masters selects its own individual method of how to unscrew this small but very important gadget. We suggest using the simplest option for how quickly and easily. disassemble the engine from a modern vacuum cleaner. For this method, a number of tools are used, which almost every man has.
What tools and materials are needed to disassemble the motor
To disassemble an electric type engine, you will need the following tools:
- Screwdrivers
- Pliers
- Socket wrench (you can use 12 mm open-end wrenches)
- Bench vise
- Hacksaw
- Round file
- Two wood blocks that have a size of 1 cm * 4 cm.
Modern vacuum cleaners have almost the same design of an electric motor, but at the same time, certain parts may vary slightly in size. Depending on this, you need to select some tools based on the size of the parts.
In what order to disassemble the vacuum cleaner motor
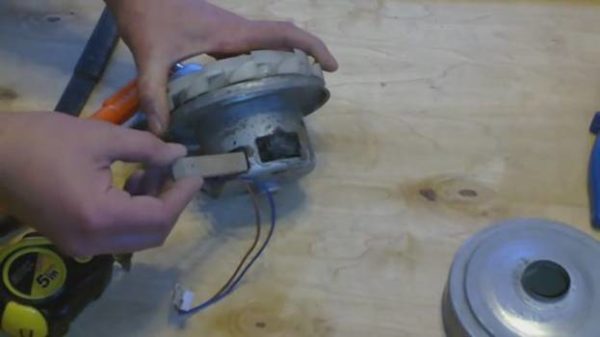
First of all, it is worth preparing the engine to unscrew the nut. To do this, unscrew the brushes located on the rear of the motor and remove the casing that covers the impeller installed in the front.
In some electric motors, the casing sits too tightly and in order to remove it, first you need to slightly bend the edges with pliers. You need to do this around the entire circumference and only then, using a screwdriver, you can pick up the casing and completely remove it from the engine.
To unscrew the nut, it is important to properly lock the rotor. This must be done so that both the winding and the armature are left without any damage. (Anchor is at the back of the motor). Try to tightly tighten the nut on both sides of the housing through the holes into which the brushes are inserted.
It is easy to insert small blocks of wood from these holes. After the bars are inserted, you need to use a bench vise to press them as tightly as possible directly to the anchor.
Using bars to fix the nut
In order to fix the nut, blocks that are 4 centimeters long and about 1 centimeter wide are perfect. The size of the bars needs to be adjusted taking into account which holes in the engine of your vacuum cleaner. They should easily crawl into the holes for the brushes and at the same time run into the anchor. At the same time, the ends of the bars should go out a bit and have a certain margin. This is necessary to clamp them with a vise. So that the wooden blocks squeezed the rotor and do not slip off it, their ends are pre-filed with a prepared round file.
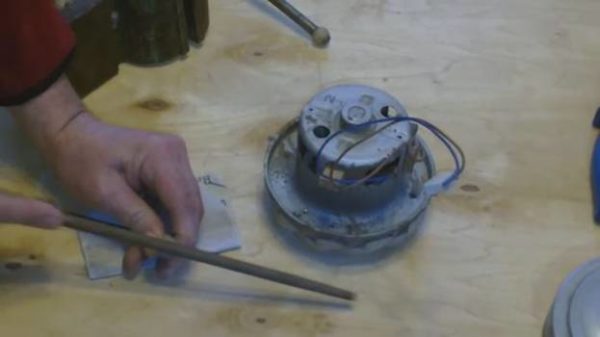
Preparation of bars for tightening the nut
When the bars are fully prepared, insert them into the holes on the electric motor. The cut ends must be inside. Then firmly press them directly to the anchor with a bench vise. This will fix the anchor so that it does not scroll while you are loosening the nut on the other end of the rotor.
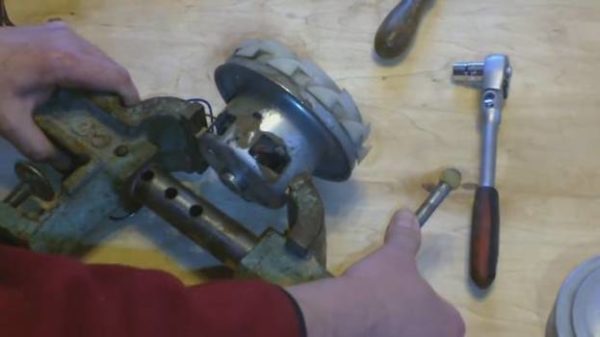
Fixing the bars with a bench vise
After the rotor of the electric motor is reliably locked, it will be possible to use a wrench with a suitable end cap in this case. Thanks to this, you can easily unscrew the small nut, which gives all masters a huge amount of trouble.
On a note! If the nut does not want to loosen at all, then it can be warmed up a little. This will melt most of the sealant that holds it. Perform this procedure using the "point" heating option. For convenience, use a special burner to prevent damage to the impeller plastic.
When the nut is removed, the other parts that make up the electric motor of the vacuum cleaner will be removed without any problems. To remove them, it is enough to use the simplest screwdrivers. When the electric type motor is disassembled, you can figure out what exactly provoked the appearance of strange noise during its operation.

Vacuum cleaner motor disassembled
What malfunctions can trigger the appearance of noise in the engine
There are a lot of malfunctions that can cause noise during the operation of the electric motor of the vacuum cleaner. The main ones include the following:
- Impeller displacement;
- The mounting screws are loose or slightly loose;
- Natural wear of bearings located in the rotor occurred;
- Electric type brushes worn out;
- There is damage to the motor winding;
- Engine too heavily soiled.
Most of these malfunctions can be easily fixed independently without using the rather expensive services of specialists. The main thing is to know what to do and have all the necessary parts for replacing damaged items. The only case where some difficulties may arise is the replacement of bearings that are not suitable for further operation. To replace them, you will need a special device - a puller. At the same time, such repairs should be done as carefully as possible. After all, the risk of damage to the shaft of an electric motor in the end part where the thread is present is too high.
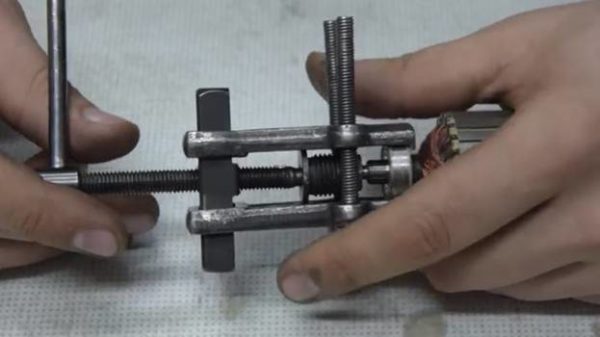
Replacing bearings that are worn
If the winding or the armature is damaged, then the only way out of this situation will be a complete replacement of parts. It is necessary to use similar spare parts so that they probably fit.
The method of disassembling the electric motor that we described is considered one of the most simple. There are other options that will quickly cope with the task. The method should be chosen taking into account which particular tools are at your disposal. The main thing is not to be nervous and try to solve the problem as quickly and correctly as possible so as not to completely break the vacuum cleaner motor.
But nevertheless, if you do not have absolutely any knowledge in such repair work, then the services of a professional craftsman will be the more correct option. He will quickly disassemble the engine and determine all the breakdowns that are present in it. This will cost much less than if you ruin the motor and then you have to buy a new one or even buy a new vacuum cleaner.
Check out the link: What happens if bring a working vacuum cleaner to the eye?
 Review of the robot of the Okami U100 vacuum cleaner: minuses and pluses of the model
  What are the types of vacuum cleaners.Selection Tips and Tricks
  Top 10 construction vacuum cleaners. Rating 2019
  How to choose a washing vacuum cleaner: basic characteristics, options and recommendations
  TOP-10 bag vacuum cleaners