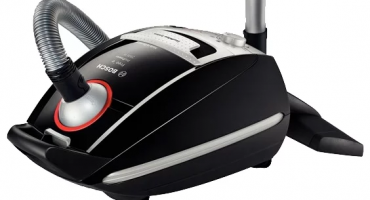
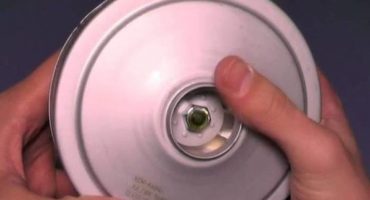
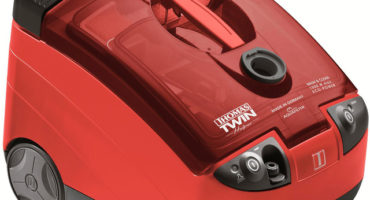
For every modern person, a vacuum cleaner is an indispensable home appliance to maintain cleanliness in the house. However, every thing, even the most expensive one, can fail, a breakdown can be serious and repaired only with the help of a wizard in a service center, or it can be insignificant, the elimination of which can be dealt with independently, following the recommendations.
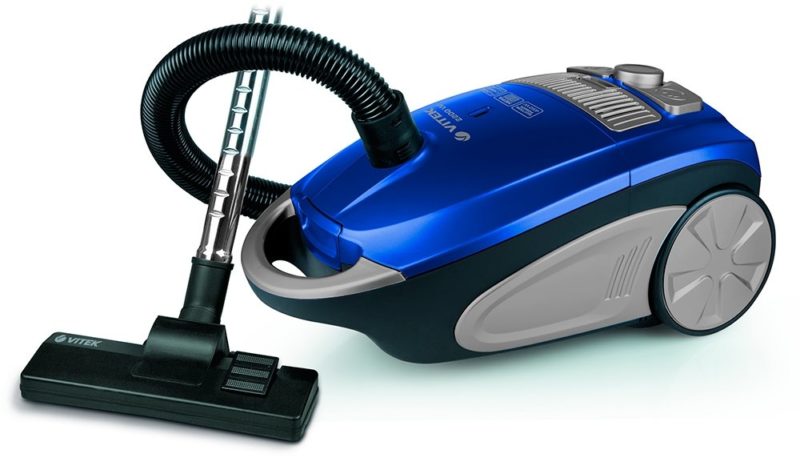
Fig. 1 vacuum cleaner
One of these less serious failures, including the best vacuum cleaners, may include repairs, namely bearing lubrication. In this situation, you need to know what the bearing looks like in a vacuum cleaner, how to remove it, and how to lubricate it.
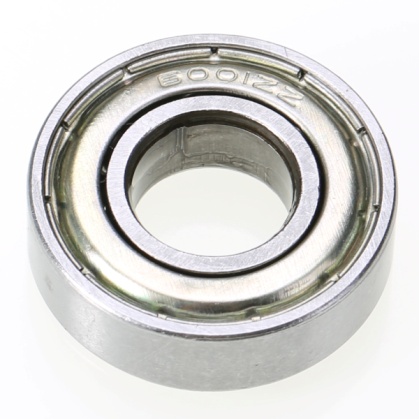
Fig. 2 vacuum cleaner bearing
Vacuum cleaner working principle
In order to understand the cause of any breakdown of vacuum cleaners, you need to know what this technique consists of and what its working principle is. The main structural element is vacuum cleaner motor, in most cases it is collector (Fig. 3).
The engine is located inside the housing along with the fan blades. It is important not to forget about the need to clean the collector shaft from soot, as well as remove oxide from the surface before it acquires a copper luster.
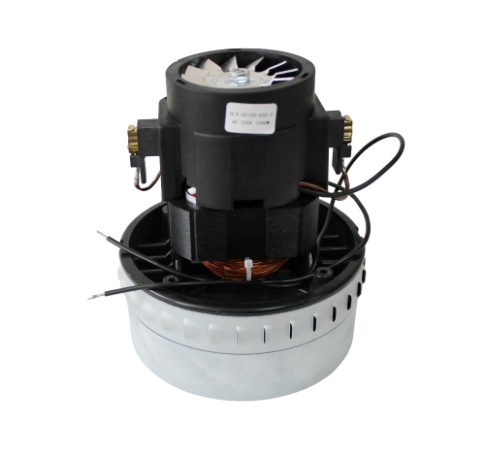
Fig. 3 manifold vacuum cleaner motor
Using two bearings of different sizes, the shaft is attached to the stator, this design provides ease of disassembly and assembly if necessary. Large is located in front, smaller is located on the back. Modern models of vacuum cleaners have inertial air pumps that bring the engine directly into operation. Thus, along with air intake, dust and debris are drawn in. All retracted elements passing through the filter remain in different types of dust collectors (Fig. 4): a disposable or reusable bag, a plastic container. These containers must be regularly cleaned, washed and dried.
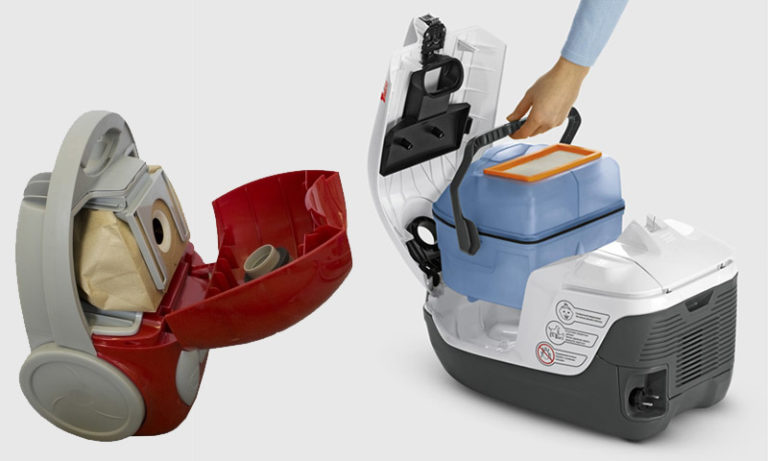
Fig. 4 Various dust collectors
Bearing failure
Be sure to pay attention to the serviceability of the vacuum cleaner if:
- the motor works and when the device is turned on, it is heard that it is working with a tear;
- engine when using the vacuum cleaner is very noisy and buzzing;
- the vacuum cleaner heats up very quickly for a short time of use;
- decreased traction and power of the device.
Bearing failure is one of the main causes of vacuum cleaner motor problems. For better cleaning of this part from dust in the design, anthers are designed. To clean them, carefully pull the shaft out of the stator using suitable tools. If it is noticeable that the bearing stroke is not working, then the anthers are probably clogged. Using a thin tool, the anthers are removed, then they must be washed with water. Balls require lubrication, specialized composition, after which they return to place.
If during operation of the vacuum cleaner, the suction power and strength have fallen, then in addition to clogged filters, the reason may be in the bearing itself, in order to check this, it is necessary to disassemble the vacuum cleaner. As a rule, bearings, in addition to cleaning, need additional lubrication.
How to remove the bearing
Regardless of the model of the vacuum cleaner, any DIY repair should begin by turning off the equipment from the outlet and removing the case. The process of removing the case will differ from the specific model of household appliances.
It is important to sketch a scheme for finding all spare parts and wires in a vacuum cleaner on a piece of paper before self-repair, this scheme will later tell you how to accurately and easily assemble the device in its original state.
Actions taken to replace the bearing independently:
- Filter removal
- Disconnecting electrical wires
- Loosening the plastic motor housing
- Removing the engine from the housing
- Engine disassembly
The filter must be removed as it restricts access to the motor. All screws on the case are untwisted, also countersunk. We carefully check all additional latches and screws to avoid damage to the case when removing. If you pull the housing attached with at least one latch with force, it may burst.
All electrical wiring is dismantled, for its fastening there are special connectors. The motor housing is unscrewed from the bed, the electric motor is removed from its housing. There are models of a vacuum cleaner where the engine is located on puzzles made of rubber material or bolted to the general housing of the device, which greatly facilitates the disassembly process. Next is necessary disassemble the vacuum cleaner motor.
Motor analysis
All actions taken to disassemble the device should be carried out as carefully as possible so as not to damage anything. In order to remove the bearing it is necessary to disassemble the vacuum cleaner motor, clearly observing the sequence of actions:
- To gain access to the impeller, the front part of the casing located above the impeller is removed.
- Using a thin metal object, with an awl or screwdriver, we bend the casing from the side so that the object goes into the middle of the part, after which the upper part of the casing is gently extended.
- While holding the impeller, it is necessary to unscrew the nut, as a rule, it has a left-hand thread.
- After the fan impeller is removed, the screws on the case are unscrewed, it is important that the brushes have already been removed by this stage.
- An anchor is pulled, if difficulties arise, then stragging, the upper part scrolls.
- Bearings are removed.
The bearing is removed using a screwdriver or threaded pullers (Fig. 5).
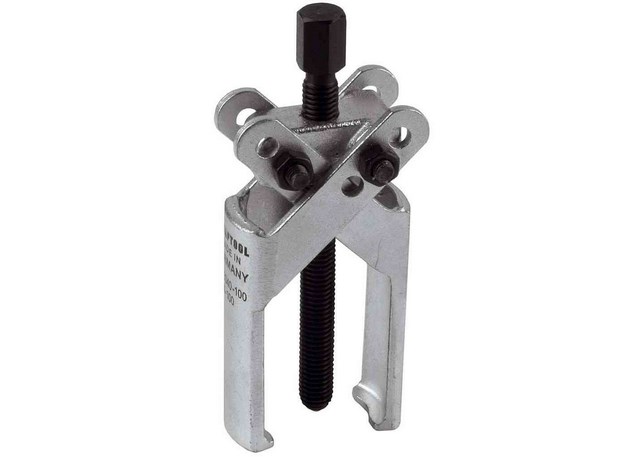
Fig. 5 Threaded puller for bearings
How to lubricate a bearing
Bearings provide rotational operation of the device. If problems arise in the operation of the equipment, it must be lubricated with special means, despite the fact that the bearings are factory lubricated. The choice of a lubricant is important to take seriously. If the oil is incorrectly selected or used in insufficient quantities, this will significantly reduce the operational life of this spare part, as the bearing will wear out faster.
To lubricate the bearing of the vacuum cleaner, plastic agents having a thick consistency, such as cyatim or lithol, are used.
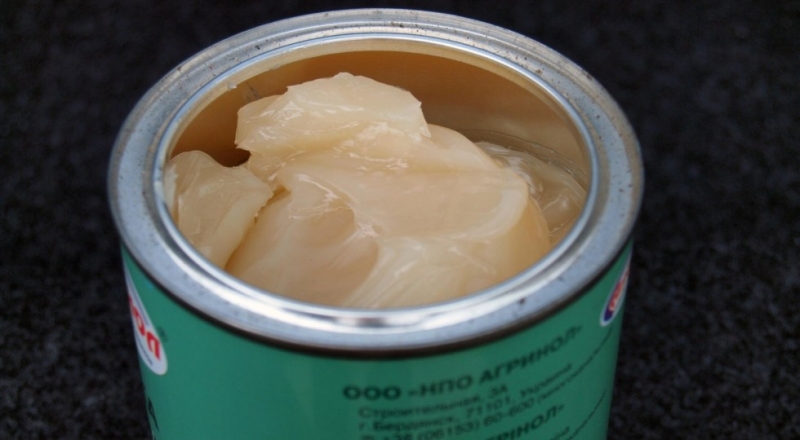
Fig. 6 Lubricant
This is due to the fact that the lubricated part has a closed type and it is difficult to access each element. Lubrication of sealed bearings occurs using a special method with heating and without heating the lubricating fluid, so that the product can penetrate even the most inaccessible places.
Lubricating a part by heating grease
To implement this method will require the following tools for work:
- grease;
- metal capacity;
- metal grill;
- candle.
Sequencing:
- The grill is installed on objects made of non-combustible material, such as brick.
- Grease is placed in the tank.
- Dishes with plastic means are placed on the wire rack.
- The candle is placed under the grill and ignited.
- Next, the grease should melt.
- The bearing is dipped into the molten fluid along with the shaft and held for 10 minutes.
It is forbidden to allow excessive overheating of the lubricant and its boiling. To ensure that the tool is evenly distributed over the entire surface of ball bearings, lubricate as follows: after removing it from the liquid, the bearing scrolls from side to side several times.
Lubricating a part without heating the grease
If the selected grease is not heatable, it is recommended to use the grease method without using heat.To do this, you need an empty tube, previously cleaned inside of foreign substances. The diameter of the tube should correspond to the outer diameter of the bearing, if necessary, it can be cut to the appropriate size.
A plastic tube used for lubrication is placed in an empty tube. The bearing is installed inside a filled container. The lubricated part is clamped with a clamp, and using the manual force, the contents of the tube are squeezed out. Thus, the part is completely lubricated (Fig. 7).
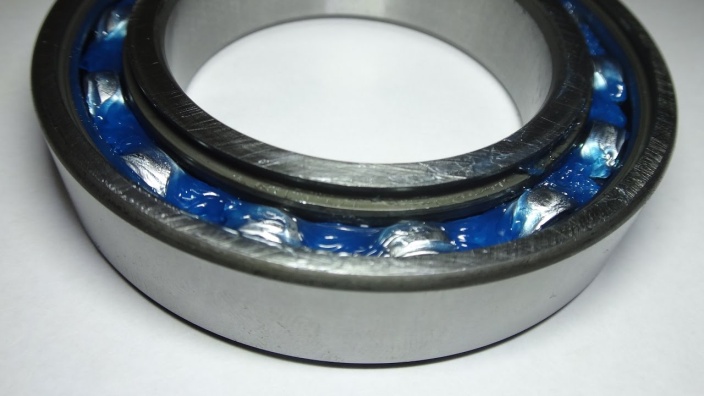
Fig. 7 Lubricated bearing
Bearing installation
To install the lubricated part back into the design of the vacuum cleaner, you must use a small hammer and tube with a suitable diameter relative to the size of the bearing. Using these objects, the part is pushed back. Further assembly of the structure is carried out similarly to the analysis in the reverse order, using the sketched arrangement of elements and wires.
Also read about operating principles of a separator vacuum cleaner link.
 Review of the robot of the Okami U100 vacuum cleaner: minuses and pluses of the model
  What are the types of vacuum cleaners. Selection Tips and Tricks
  Top 10 construction vacuum cleaners. Rating 2019
  How to choose a washing vacuum cleaner: basic characteristics, options and recommendations
  TOP-10 bag vacuum cleaners