A blender is an essential appliance in the kitchen. Almost every housewife has it, because it is very convenient and practical. And if the blender does not work, many feel great discomfort during cooking. After all, it is indispensable during grinding, whipping and mixing food. However, do not despair and immediately contact the workshop, as some malfunctions can be repaired by yourself.

Why does the blender not work?
Types of Blenders
To understand how to repair a blender with your own hands, you first need to find out how it works. So, today two types of these devices are produced:
- Stationary.
- Manual or submersible.
But there is also a blender, which is part of a large and multi-functional combine. In this case, if there is a breakdown, the entire device does not work. Therefore, in this article we will only talk about how to calculate the cause of the breakdown and repair the stationary or hand blender.

Hand or submersible and stationary blender
Regardless of the model, kitchen utensils have several basic mechanisms that ensure work. First of all, this is the motor, various knives and nozzles, the number and types of which depend on the model, as well as the bowl. She in some of them can fulfill a recollecting role.
Hand blender
A cane device equipped with several nozzles. Its main difference from the stationary one is the absence of thicket. At the same time, this allows housewives to carry out all the manipulations in a variety of containers. In his case there is the following:
- engine;
- spindle;
- Control block.
Stationary blender
During his work, the cook’s hands are free. The device has a base on which the bowl is mounted. Cutting nozzles are located in it. Repairing this type of device is somewhat more complicated due to the presence of a large number of parts. It consists:
- bowl with a lid. It can be glass or plastic, depending on the model;
- engine;
- spindle;
- knife;
- drive shaft;
- locking mechanism.
How to disassemble and repair the blender, depending on the cause of the breakdown - minor malfunctions
It should be noted right away that not all devices are capable of grinding products equally well. For example, low-power models are not able to cope with solid food, so if your blender does not work, or rather does not cut food, this does not mean that it is broken and needs repair. If after turning on the device starts to buzz, but no process occurs, two things need to be checked:
- whether the rotation of the knives occurs if they are not impeded by food. If yes, then this means that your device is simply not able to cope with such a volume, and it does not need repairs. To do this, you need to either add liquid or reduce the amount of crushed;
- in some cases, it may not cut due to blunt knives.
In the first case, you will not do anything, since your model is of very low power. But how to replace the knife, we will describe below.

Check the blender before disassembling!
Knife replacement
Important! Manually sharpen the blade at home, you will not succeed.
There are two options for the development of events:
- Go to the workshop with a request to sharpen the knife. However, you must immediately say that most masters will tell you to buy a new one.
- Get a new knife. They are now sold in almost all stores. To do this, you need to know the model, but it is better to go in search with a passport or with the device itself. Most often they are sold together with oil seals, so you need to replace it immediately.
Before starting the manipulation, unplug the device from the power outlet, otherwise one inadvertent movement may result in the loss of fingers!
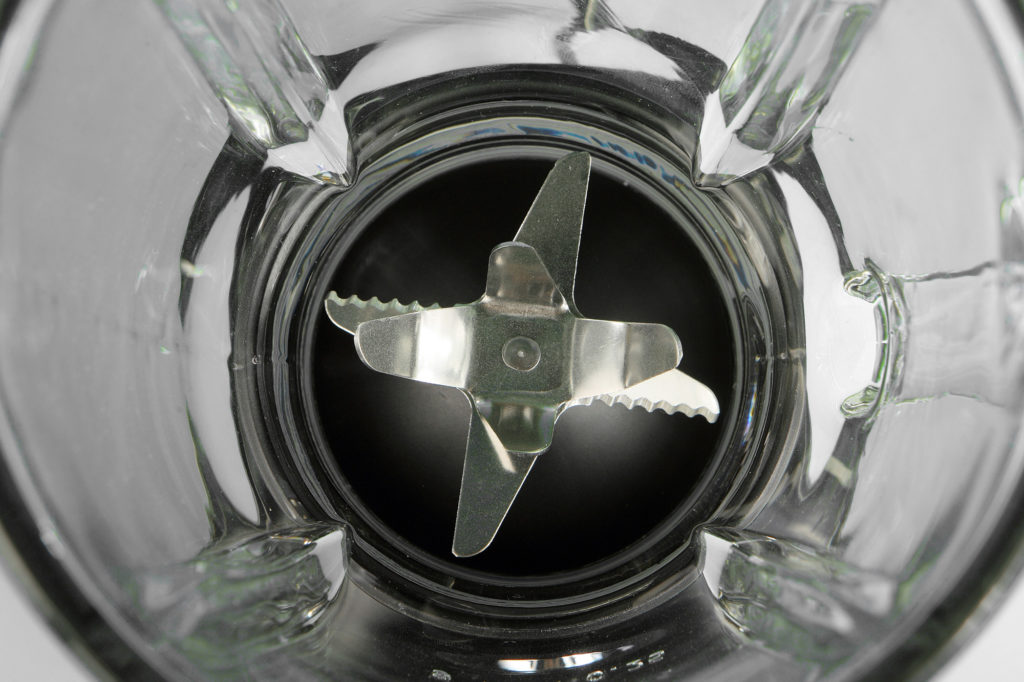
Removing and replacing a knife with your own hands
To remove an old knife, you will need a towel. Grasp the cutting part with it and unscrew it from the spindle.
Note! You need to scroll to the right side!
In some models, the knife can be fixed with several nuts, so you need to arm yourself with a wrench or pliers. Sometimes, but in rare cases, to dismantle the knife, you need to disassemble the bowl.
After replacement, you need to install everything back and securely lock. Only after that, turn on the device for checking.
Electrical failures
Everything is a bit more complicated here, so a more complete disassembly and repair will be required, since there can be many causes of malfunctions and here are the most common ones. Disassembling a hand-held device is not difficult. To open the case, it is enough to correctly place the places on the handle, find the latches and open them.
It is more difficult to disassemble a stationary model, in addition, it has much more details and mechanisms. Therefore, you need to arm yourself with everything you need immediately. You may need several types of screwdrivers, pliers, tweezers, a screwdriver with indicator. It is very important, especially if you are doing the DIY repair for the first time, remembering where and how all the mechanisms are installed. Otherwise, you will incur a blender with no more serious malfunctions in repair, for example, a short circuit, a burned out engine.
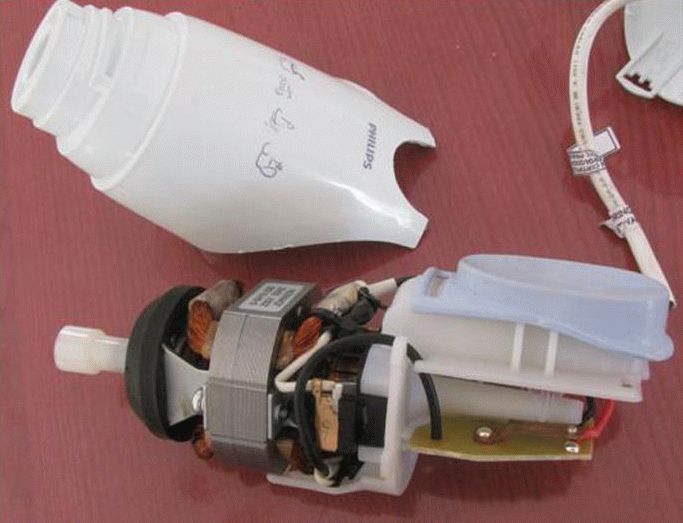
DIY blender repair
The problem with the speed controller
Unfortunately, unless of course you are a radio technician, DIY repair is very difficult, and sometimes impossible. Since we need not only special tools for this, but also knowledge in physics. If the blender has a broken speed switch, it is better to consult a specialist.
But if you still decide on an independent repair, get ready for the fact that you will need to disassemble the blender. So, armed with a screwdriver, we unwind the device case. You need to remove all parts to free access to the switch. The regulator is evaporated from the equipment and then checked in all positions. If the blender works correctly, then at all speeds the contacts will be correctly set.
Important! Before proceeding with the repair, you need to listen to whether the speed changes at different positions of the switch.
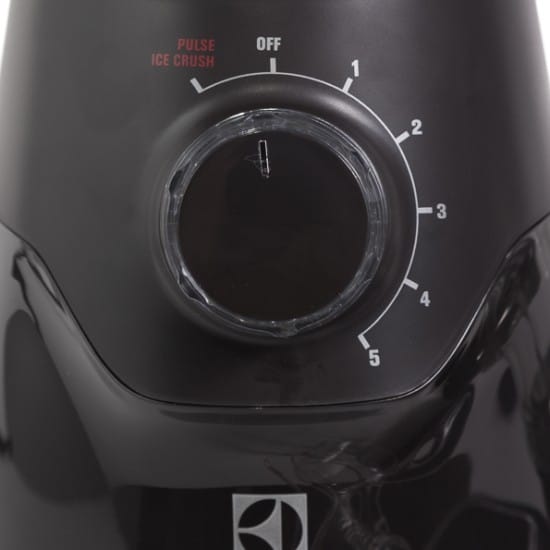
Speed Switch Repair
If the blender stops: how to repair
Sometimes it happens that the device simply does not turn on. There can be many reasons, as well as ways to eliminate them, so let's start in order.
There is a buzz when turned on, but no action occurs - possible breakdowns:
- The most common is jamming of a knife. To determine this, you need to turn on the device and listen: if there is a buzzing, then the reason is established. To eliminate it, you need to remove the bowl and very carefully, it is better to do this with a foreign object, press the power lock button. Well, everything worked - the repair was limited to removing the bowl and knife.
- The problem is much more interesting, but also deplorable, when buzzing sounds are heard, and the lock button is depressed, but the process does not occur. Here, the forecast is disappointing - the motor winding burned out.There are several ways to solve this: contact the service center with a question about which blender is most likely burned out and whether it can be properly repaired or disassembled and try to determine the cause yourself.
The first sign of a burned-out engine is a strong burning smell, which occurs due to a short circuit in the system. Repair it is possible, but only if it will be limited to replacing the brushes. In other cases, it is cheaper to buy a new household appliance.
It is important to understand! Buying a new device in many cases will be more profitable, since the price of the motor is very high.
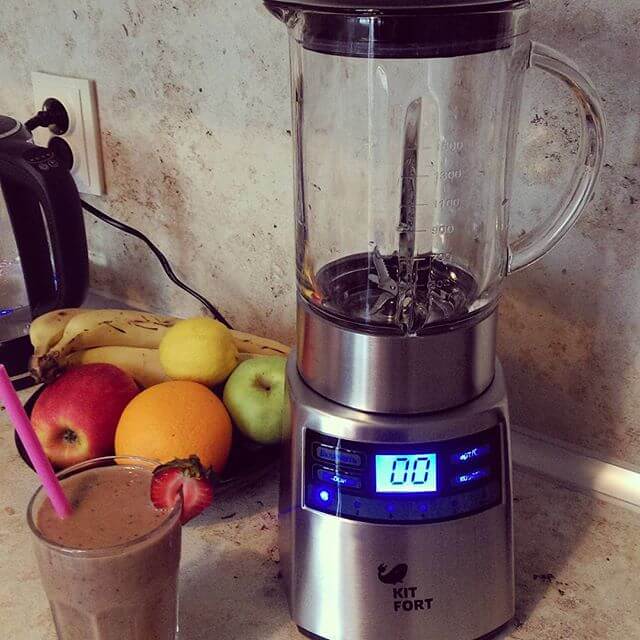
Checking the most common causes of breakdowns
No buzzing when turned on
In this case, there are many options for damage. And most often, housewives begin to panic, even in cases where there is no problem as such:
- Before proceeding with the repair of the blender, you need to check the most elementary - the performance of the outlet.
- If this is not the reason, then one more thing must be excluded - wire breakage. To check the cord, you need to disassemble the case, so you need to take a set of screwdrivers. Rare models may require you to use special nozzles, but, as a rule, the usual cross or flat is enough. Before disassembling the blender, it must be disconnected from the power. And only then open the case. After it is separated, a power block will appear in front of you, to which the cable will be soldered or screwed. At the connection points, check the voltage with a special screwdriver. If it is, then everything is in order with the wire, but if it is missing, it is better to connect a new cord.
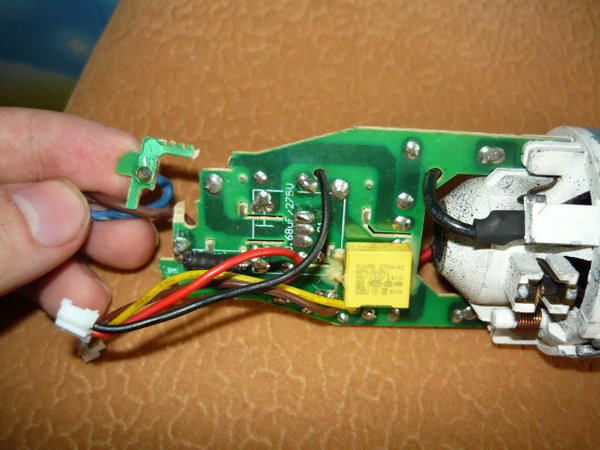
Check the wire in the blender
- In models that have a fuse, you need to check its serviceability. If the cause of the breakdown is this, you need to replace it with a new one and check the blender. But sometimes, even after changing the old to the new, the fuse immediately burns out - a short circuit occurs. To fix the problem, you need to alternately connect the energy consumers to the source and look at the result. You also need to check the integrity of the windings. If the problem of failure is not detected, then it is better to contact the workshop.
- The most serious is the detection of damage on the board. It can be swelling or interruption of tracks. They occur if the blender burns out. If such a defect is found, then the blender cannot be restored.
As you can see, the malfunctions and methods for their elimination are not as complicated as they might seem at first glance. Therefore, if you need to repair a broken blender, do not rush to contact the workshop, try to eliminate the causes yourself.
Mechanical breakdowns
The blender does not always break due to problems with the electrics, often the cause of the malfunction can be ordinary mechanical damage, which can also be successfully combated at home.
Leaking engine gaskets and bowls
If during the operation of the device a leak is detected between the body and the bowl, it must not be delayed. It is necessary to disassemble the bowl, nozzle, whisk, then remove the spindle. A gasket will be opened in front of you, which is the culprit of the breakdown. To eliminate the leak, just replace it with a new one.
Latch mechanism defective
A blender, however, like any other equipment, can be damaged during operation, especially if it is sloppy. Most often, the latches located on the cover and additional nozzles are subject to damage. Most often, such damage cannot be repaired, since it is very complex and short-lived. It is better to immediately contact the store for the purchase of nozzles.
However, do not rush to throw out the damaged nozzle, since not every model has spare parts for sale.
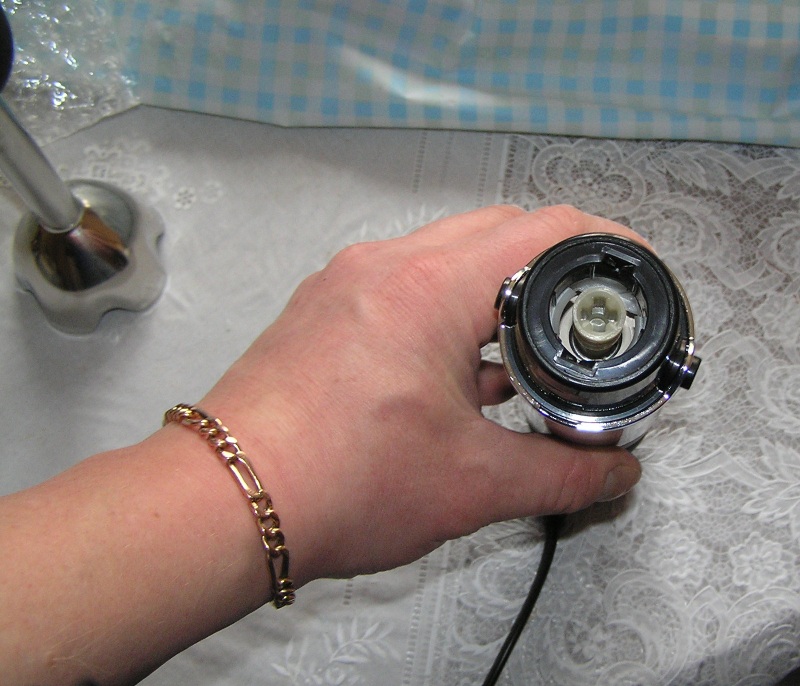
Fixer Repair
Gearbox repair
There is another weakness in modern blenders - the gearbox. Its frequent breakdown is associated with excessive load of the device.With frequent and prolonged use, it can heat up, resulting in the melting of its seat and gears. This problem can be fixed right away - when you turn on the device, you will hear characteristic sounds that occur due to extraneous things.
For DIY repair, you need to disassemble the device and examine it. If the internal mechanisms are intact and they simply come out of the grooves, they need to be put in place and fixed. If the gear is broken, you need to buy a new one.
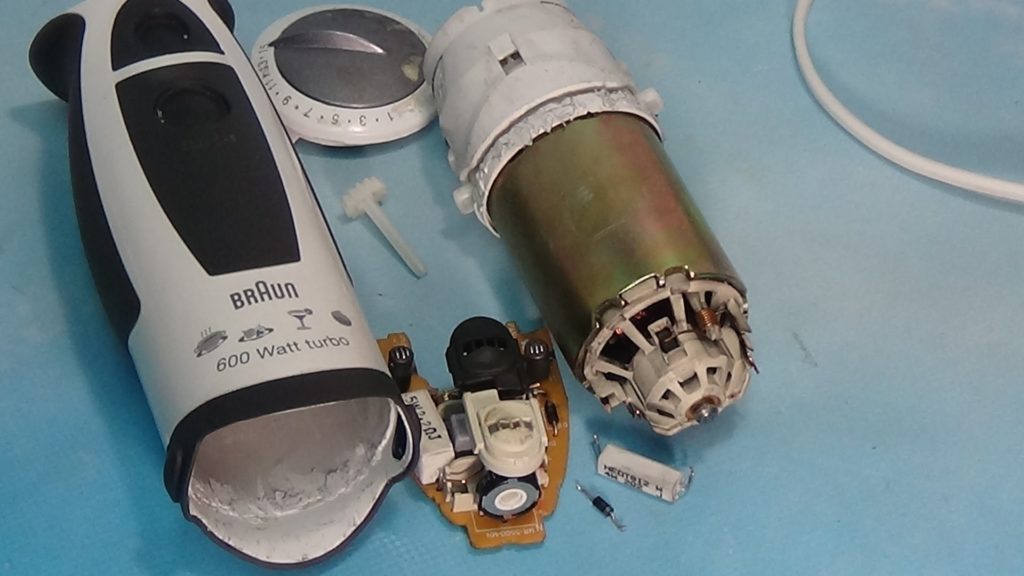
Gearbox repair
Important! Match this item to exact size!
Conclusion
If the blender breaks down for any reason, do not immediately contact the masters. After all, the cause may be a banal cable breakdown or knife blocking. Before wondering if the blender is not working, what should I do? Check the elementary possible causes and only after that, evaluate your strengths and capabilities and only then proceed with the independent repair.
I would also like to say that some spare parts for this household appliance are very expensive. In addition, the manufactured non-original spare parts do not guarantee a long and high-quality operation. Therefore, before embarking on an independent repair or in the workshop, evaluate the feasibility of it. Because, as sometimes, the difference between fixing and a new device can be as few as a few hundred rubles.
 Should I buy a Dauken blender? Review blender Dauken MX800
  Planetary mixer: what is it and how to choose the right
  Powerful hand-held mixer for home - an overview of popular models
  How can I replace the mixer - analogs of mixers and life hacks
  Rating of the best models of planetary mixers for the home

