It happens that after buying a new dream oven everything goes as it should, but suddenly an unexpected problem arises - the oven does not turn on! It’s too early to get upset, this does not mean that defective goods were purchased. The fact is that the latest generation of ovens do not start until you set the clock on the display.
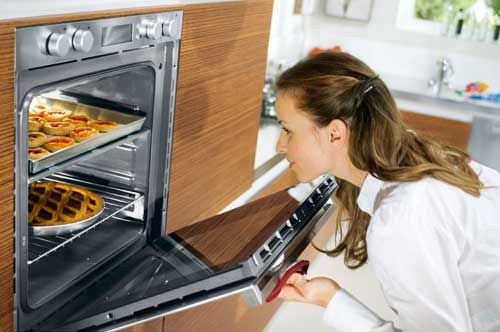
It’s too early to panic, if the stove does not turn on, maybe you just need to set the clock
It’s too early to panic, if the stove does not turn on, maybe you just need to set the clock
The principle of operation of the electronic programmer
The electronic programmer is designed to control the functions and modes of the oven. The timer shows the exact current time. After each mode, a beep sounds, after which the oven turns off.
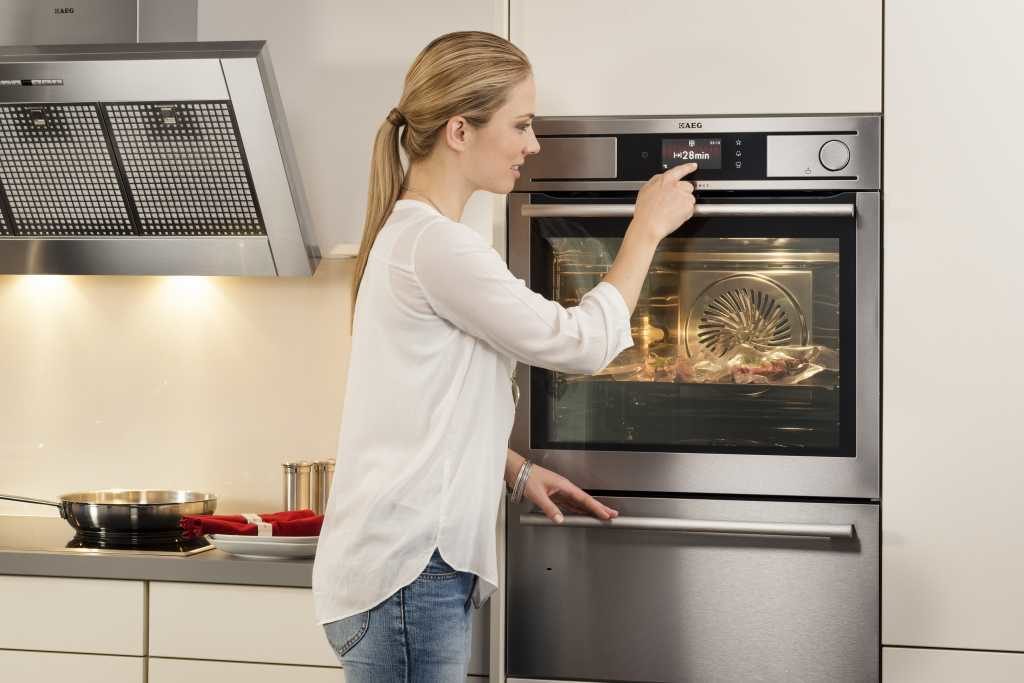
Without setting the time, the oven will not work
The programmer is designed to perform the following functions:
Time change control:
- The current time is set.
- Setting the cooking time.
- Programming shutdown times.
- Clock setting.
Security Control:
- Auto power off mode.
- The block of keys from unplanned switching of modes, in particular, protection against children.
The setting process can be started by pressing the function key. Then, within a few seconds, you need to set the time using the “+” and “-” buttons. Using the same keys, you can correct the time if incorrect data was set. It should be borne in mind that a short press on the plus or minus button adjusts the clock for one minute, a long one speeds up the process.
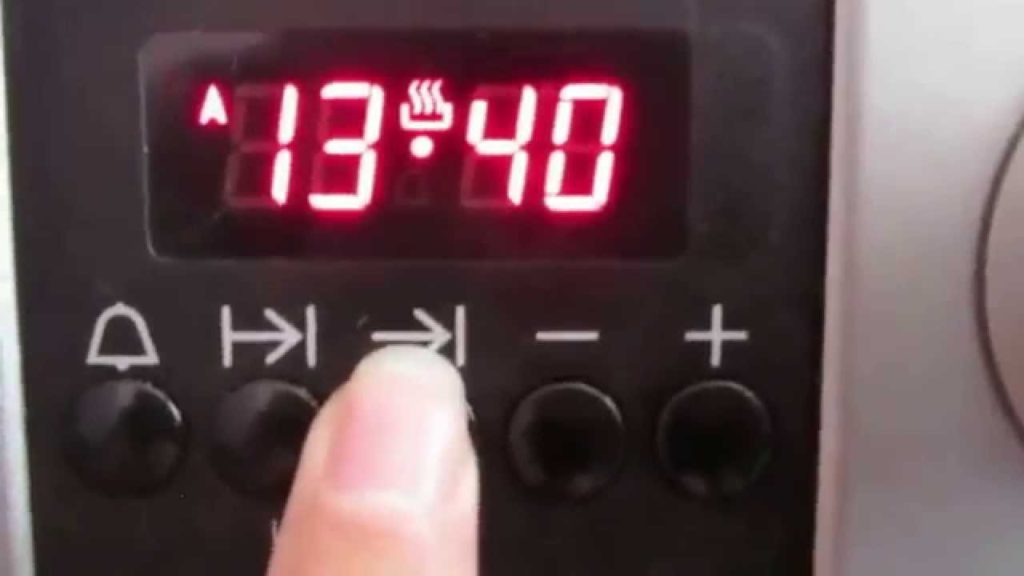
Depending on the oven model, the instructions for setting the time differ
When the oven is first connected to the network, a blinking indicator should appear on the display. This means that you need to enter the current time.
To select the necessary additional function, set the adjustment lever to 0, set the time on the timer, then turn the tuning knob to the desired function.
Instructions on how to set the time on the oven
After the oven is installed and connected to the mains, the control panel lights up, usually flashing numbers or the clock icon are displayed there. Some models involve setting the time of day, others do not require this.
To set the exact time, you need to use a special pen or button in the case of an electronic panel. Having set the necessary hours, you need to click on the time sign and go to setting the minutes. After correcting the exact time, click on the clock icon. Everything, time is set.
As a rule, the time is set either using the “+” “-” buttons or a special rotary knob. After the time is set and fixed, you need to wait a few seconds.
It happens that emergency situations occur when the current supply is interrupted, in such cases the programmer does not remember the previously set parameters, and after the electricity is supplied, the procedure will have to be repeated again. Otherwise, the oven simply will not start, this is a necessary condition for starting the appliance.
How to set time on different brands of ovens
Some household appliances are not so easy to set up. Most of them have, if not a complicated, then an unusual way of programming. Ovens are no exception in this matter. A lot of people spend a lot of time and nerves just to set the time on the control panel. This is necessary because without this procedure the oven will not turn on at all. People read the instructions, do everything in accordance with the written, but still does not work.It is important that each model and brand of the oven has its own characteristics in the installation. Let's try to figure it out.
- The Electolux furnace was no exception, its models are almost the most popular settings in terms of complexity. So, to set the time, you need to disconnect the oven from the network for several minutes. After switching on, the clock icon should blink on the panel. Using the buttons with the plus and minus signs, the exact time is set. Wait until the watch stops flashing - the time is fixed. You can not turn off the ovento set the clock, and just click on the time icon. But in this case, you can inadvertently put the oven on the timer, so the method with turning off the oven seems more acceptable.
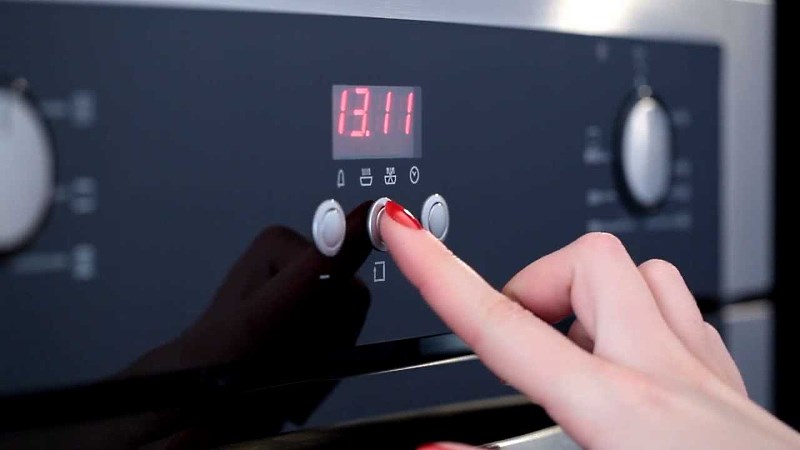
With the Electolux oven, you need to carefully follow the instructions and it is better to set the time when you first turn it on so that you do not accidentally set a timer
- Turning on the oven of the popular Bosch brand, pay attention to the flashing panel, there should be an image of hours and zeros. This means that you need to adjust the time. To do this, click on the icon with the image of the clock and use the "+" and "-" buttons to set the current time. We are waiting for a few seconds as soon as the numbers stop blinking, which means that the program remembered the time, and the oven can be used for its intended purpose.
- Having installed an oven of the Siemens or Ariston brands at home, you will have to take a little trouble. Here, you also need to set the time of day, that is, day or evening (AM or RM). By turning on the oven, you will notice flashing numbers on the display. The exact time is set using the rotary knob or the button on the touch panel. When the time of day is set, go to the clock settings. To do this, click on the clock icon and set the clock, then click on the icon again to set the minutes. You’ll simply set the hours or minutes: a flashing pair of numbers is ready for adjustment. Having set the right time, you need to add it to the programmer’s memory by clicking on the clock icon. The time is set using the rotary knob or the “+” “-” icons or the arrows, it all depends on the specific model. When the temporary value is stored in the device’s memory, you need to wait a few seconds, then you can start setting other parameters.
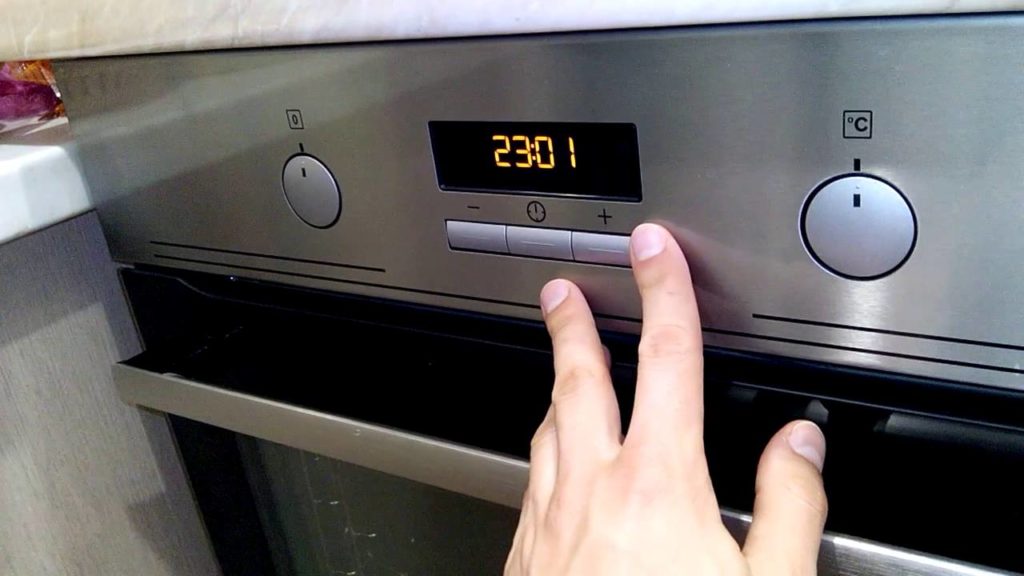
If you carefully follow the clock settings guide, there’s nothing complicated
If you follow the tips, the first start of the oven should not cause difficulties. The procedure does not take much time and effort if you carefully study the instructions and follow the recommendations. Having set the time, you can safely start cooking.


On the induction oven, the time is set without problems, but after some time, the time goes out, and the “clock” icon lights up, how to make it not the time icon that burns, but the set hours and minutes. You can click on the clock icon, then really time will appear, but it is very inconvenient to constantly have to go up to the stove and press the buttons !!