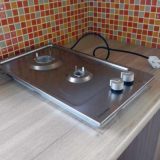
Most modern consumers prefer electric hobs. Connecting this household appliance is often limited to plugging into a power outlet. Most buyers purchase only the upper working part of the panel, the equipment of which does not include a cord. For this reason, you need to know how to properly connect the hob without a plug.
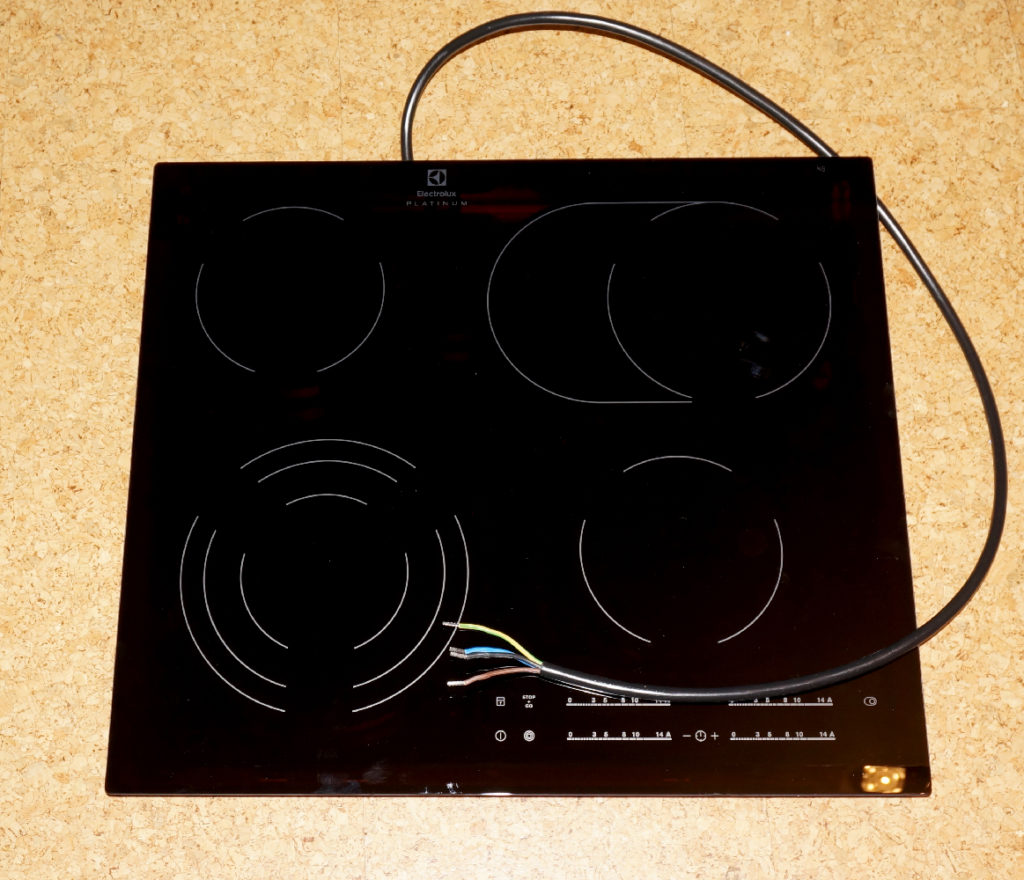
Hob without plug with standard supply cable
Connect the hob to the mains without a plug
Self hob connection Without a plug to the power supply network requires certain skills in the field of electrical engineering. It is advisable to first consider the correct connection diagram of a simple hob.
To install the device will require a number of improvised tools and devices:
- screwdriver;
- multimeter;
- test sleeves or tips;
- PVC insulation;
- shrink with a cross section of 6-8 mm.
If a cable with 4 wires departs from the panel, and the terminal strip has 3 clamps, then the following sequence of connecting wires should be observed:
- brown and black wire from the hob are connected together at one point;
- the blue core is connected to the wire N;
- the yellow-green wire is connected to the ground terminal marking.
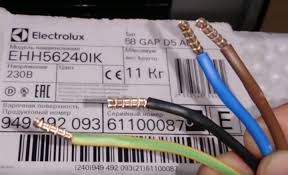
Number of cable cores for connecting the cooking surface without plug
When connected without a plug, the hob is positioned as close as possible to the junction box by punching the wall. If grabbing is technically impossible, then the cable channels are laid.
Next, the box is opened, in which the device determines the “phase", "zero", the grounding conductor, if it is not installed separately, and "neutral". The wire is connected from the hob according to the color scheme in the junction box. Insulate the cable connection and close the box.
If the terminal block does not have a designation or numbering, using a multimeter, you must determine where the "phase", "zero", "ground" are located. After connecting the conductors, PVC insulation is applied or a shrink tube of the required diameter is used.
Before connecting an electric hob, it is necessary to install an autonomous circuit breaker and an RCD or a differential automat. It should be borne in mind that the size of the cross section of the supply wire should not be less, or it should be equal to hob power.
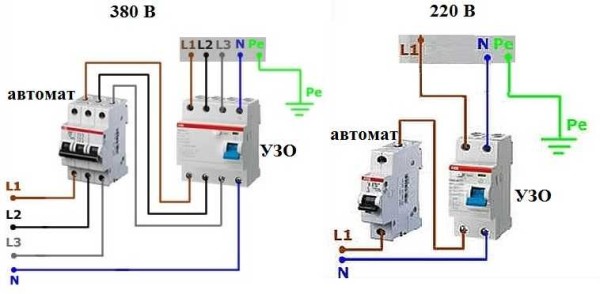
Schemes for connecting the hob to the electric meter
To prevent electric shock, the device case must be grounded or “nullified”, if it is provided for in the operating instructions.
Step-by-step connection algorithm;
- The most modern option for connecting an embedded panel is a 4-wire circuit;
- It is advisable to connect to purchase a cable with a cross section that will not be too large to prevent loss of electrical resources. If the cross section is too small (less than 2.5 mm2) the cable will heat up.
- On the back of the panel we find the rectangle of the standard contact connection. Using a screwdriver, four bolts are unscrewed, the cover is removed.
- After opening the lid, determine the presence of a copper jumper between the black and brown wires, then connect the cable to any of the terminals. If there is no jumper, it must be installed. Secure the cord with the clamp to prevent it from falling out of the terminal box. Loosen the screws.
- The ground wire is yellow-green in color and is always connected first, after which we connect the blue neutral wire. The brown or black phase wire is connected last to the corresponding terminal. Tighten the screws.
- Check the integrity of the contact connections in the terminal and junction box. Strong tension and sagging of the wire is not allowed. If the installation is performed in an open way, the location near the heating elements is prohibited. Also, it is not recommended to be located close to gas equipment (gas water heaters, boilers, water heaters).
The choice of cable, automatic, RCD for connecting the panel of the brand Electrolux
The calculation of the selection of the current load of the machine for connecting the hob is calculated as follows:
- a panel having 220 V power supply consumes 5 kW;
- current loads can be calculated according to Ohm's law;
- therefore, the indicator of the power consumption of the device will be 5 kW / 220 V = 22.7 A;
- the rating of machines for the Electrolux model is in the following sequence - 16/25/30 Amps.
The power supply to the hob, where the plug is not provided, you must install a machine with a nominal value of 25 Amps.
| Maximum current of the circuit breaker, A | power, kWt | Current, 1 phase, 220V | Wire cross section, mm2 |
| 16 | 0-3 | 0-15 | 1,5 |
| 25 | 3-5 | 15-24 | 2,5 |
| 32 | 5-6 | 24-31 | 4 |
| 40 | 6-7,5 | 31-39 | 6 |
| 50 | 7,5-9 | 39-48 | 10 |
| 63 | 9-11,5 | 49-61 | 16 |
| 80 | 11,5-15 | 61-78 | 25 |
| 100 | 15-18 | 78-96 | 35 |
The cable is selected taking into account the wiring method - hidden or open. For open wiring, a cable cross section of 6 mm is required2, for hidden, respectively - 10 mm2 on copper. For reliability and safety, it is recommended to choose a cable with reinforced or double insulation.
With the open method of wiring, corrugated insulation is used, which protects the wire from mechanical damage and increased heat. In case of overload of the supply conductor, the corrugated sleeve provides protection against possible fire, as it prevents combustion. For flush mounting, additional safety measures are not applied.
When choosing an RCD, it is necessary to take into account the rated current of the machine, it must be an order of magnitude less. With a machine with a nominal value of 25 Amps, an RCD is installed at 40 Amps.
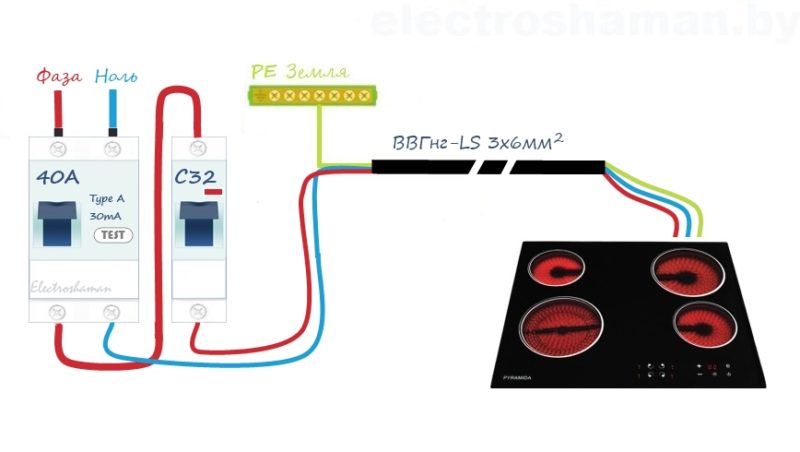
RCD and circuit breaker connection diagram
It is recommended to install an RCD on each outgoing line individually, to prevent false alarms of the residual current device, if any.
Hob installation: sequence and rules
Installation of standard hobs shall be carried out in accordance with the following rules and recommendations:
- the hob must be mounted on a horizontal flat surface, ignoring this requirement can lead to deformation of the metal parts of the device and malfunction of the ceramic surface.
- screw the short screws to the regular holes, which are located on the sides;
- for the most even installation of the panel in the kitchen set, it is necessary to level the horizontal surface with a laser level by lightly pressing the center of the device;
- After complete installation, secure with fasteners. Center plate bolts should remain accessible;
- if the hob is mounted without following the instructions in the operating instructions, this may affect the performance of this device.
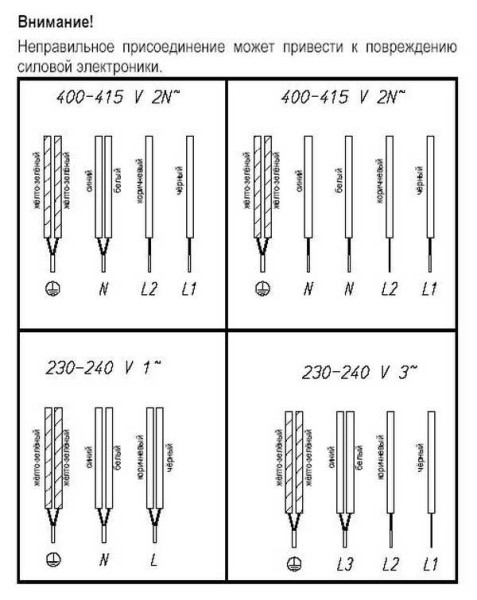
Connection options for one of the models
Turning on the induction cooker after installation
Turn on induction cooker after installation it is carried out according to important rules:
- Before putting into operation, the product must be cleaned of contaminants, glue residues and preservation grease using special detergents that do not contain abrasives;
- inclusion of a plate is made by pressing the "Network" button;
- if the connection of the panel is carried out correctly, then after the voltage is applied, an audible signal sounds;
- after several hours of operation of the device, an unpleasant odor of burnt rubber or plastic may appear, which will soon be burned and disappears;
- the inclusion of one of the cooking zones occurs with the help of a button and a power regulator with a graduation from 0 to 9;
- with the simultaneous operation of several cooking zones, the display shows the countdown in that zone, which is closer to the completion of the process. The indication of adjacent cooking zones flashes.
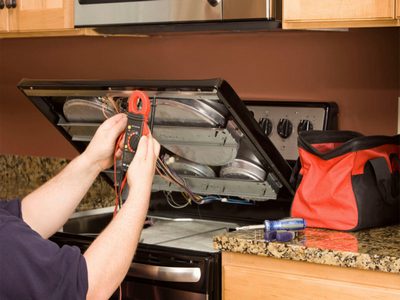
The installation of the hob should be entrusted to a professional
Possible causes of malfunctions and their elimination
What can be the malfunctions when installing the hob? It is necessary to consider the most basic:
- Spontaneous shutdown of the display panel does not respond to button presses - the control board is faulty, to eliminate the cause, it is necessary to call a service specialist;
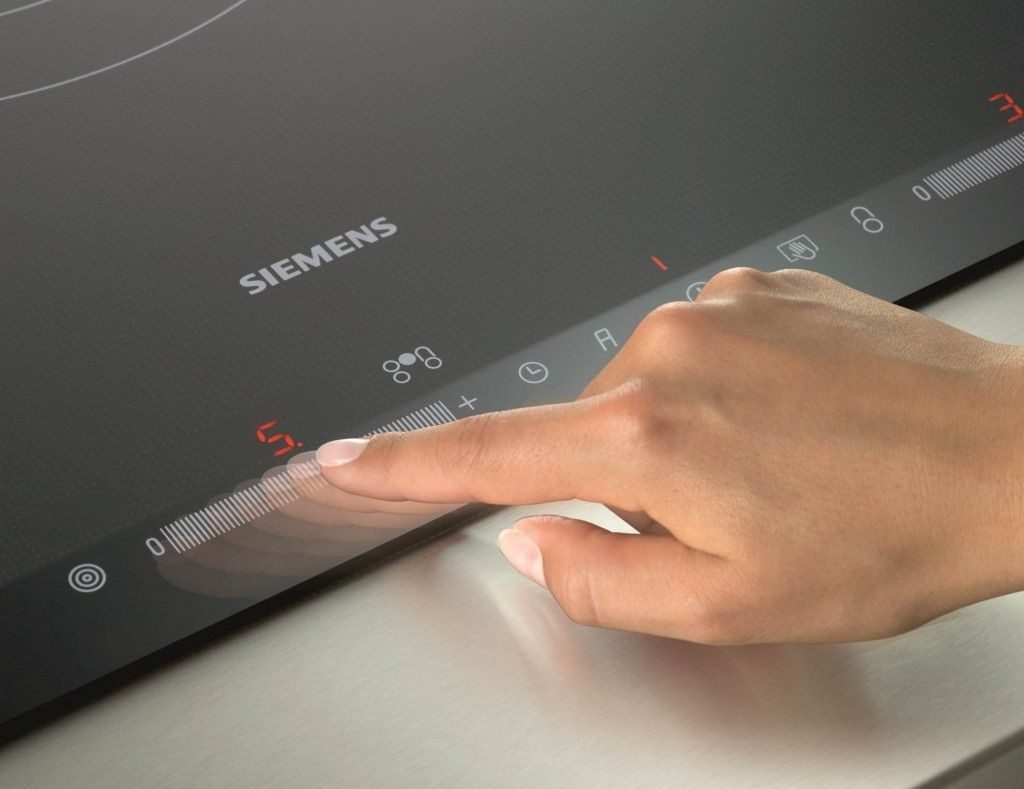
Hob touch panel
- The sensor board overheats - you need to measure the resistance and voltage of the supply network, the measurement parameters must comply with GOST and the nominal values specified in the instruction manual;
- The cooking zone is slightly heated - there is a high probability of failure of the thermostat, or a decrease in the resistance of the heating element. The thermostat cannot be repaired; a new thermocouple needs to be replaced. Another reason may be improperly selected dishes;
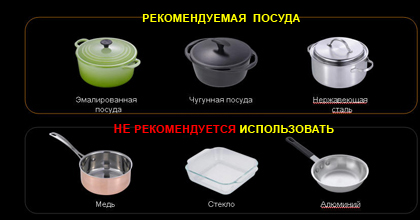
Cookware for glass-ceramic hobs
- The stove turns on arbitrarily - one of the more likely causes of the malfunction may be the presence of an extraneous metal object on the hob. It creates eddy currents and the panel turns on automatically. Residues of food, liquids, salts can provoke spontaneous inclusion of the device. Another possible problem may be the control unit;
- Damage to the glass-ceramic surface can occur through the fault of the consumer due to non-compliance with the operating rules or through the fault of the manufacturer;
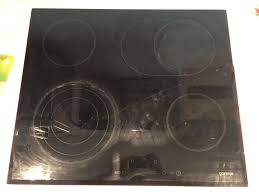
The most common type of hob damage
- The panel does not turn on - check the supply voltage with a multimeter, ring the input fuse, check the integrity of all contact connections for visible mechanical damage, the presence of foreign objects on the control board and other switching devices.
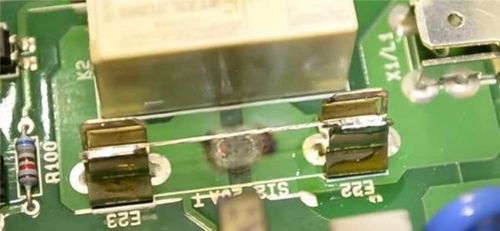
Primary fuse damage
Installing and connecting an electric hob with your own hands is not a laborious process, but it requires certain knowledge and skills in electrical engineering. For high-quality installation, you must have a minimum set of improvised tools and carefully read the instructions for installation, operation and repair of this household kitchen appliance first.
 Instructions on how to connect and integrate a gas stove and cylinder
  DIY gas stove repair and shutdown
  How to change a gas stove to an electric one is legal and safe
  Electric stove scheme, how to choose and types of electric stoves
  How to install a hob do it yourself