Often a home standard freezer does not hold all the foods that need to be frozen. To buy a new one, you have to spend a considerable amount. Therefore, the search begins for alternative methods of freezing. Alternatively, make a freezer yourself. We will figure out whether it is possible to make a freezer from an old refrigerator with your own hands.
What materials can be used to create a freezer
Before you start creating your own project, you need to study the basic principles of the freezer. This will allow a meaningful approach to the task and, if necessary, improve self-assembled equipment.
The freezer, the manufacture of which takes place at home, consists of the following elements:
- compressor;
- evaporator;
- cooling chamber;
- temperature regulator;
- capacitor;
- a tube.
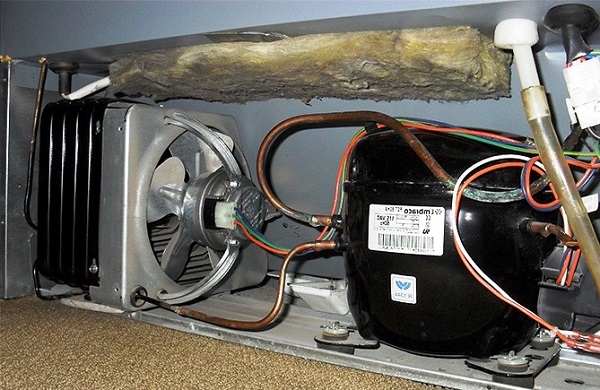
Freezer Elements
Operating principle
For freezing equipment to work, you need to purchase a special substance - freon. This liquid is capable of boiling at freezing temperatures. It is freon that will circulate through the system during unit operation.
The lower the refrigerant pressure in the connecting pipes, the lower the boiling point. All of the above elements, with the exception of the camera, are interconnected using tubes.
When the liquid boils, the refrigerator begins to work, and inside it the temperature drops. Next, the vapor from the evaporator is sent to the condenser and there again turns into a liquid.
If the installation is powerful, then it is necessary to use a fan, which will help cool the radiator.
The principle of functioning of the freezer is the conversion of a substance that circulates through the tubes into steam and vice versa.
What types of freezing devices can you create yourself
There are many options for creating a freezer yourself. It all depends on how much money will be directed to the project. For each method, different equipment and materials are used.
So, there are the following DIY manufacturing options for a freezer:
- from an old refrigerator;
- from an empty container or other room;
- from the cellar.
The first two points involve the use of a pre-built cooling system. The latter method is the most laborious.
You can implement the project from sandwich panels, which are sold in specialized stores. But the price for them will be almost the same as for the new freezer. These panels can be replaced with foam blocks, the result will be the same.
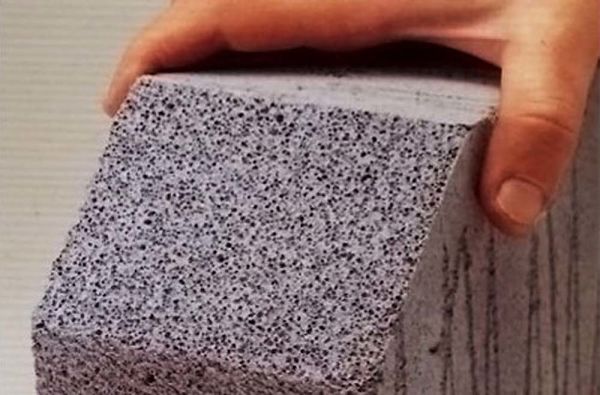
Foam block structure
How to use the capabilities of an old refrigerator
In older models of refrigerators, quite powerful compressors are built in. They will be able to provide a large volume of the chamber with a sufficiently low temperature. To make it work, you just need to create a partition with heat-insulating properties that can easily keep the cold.
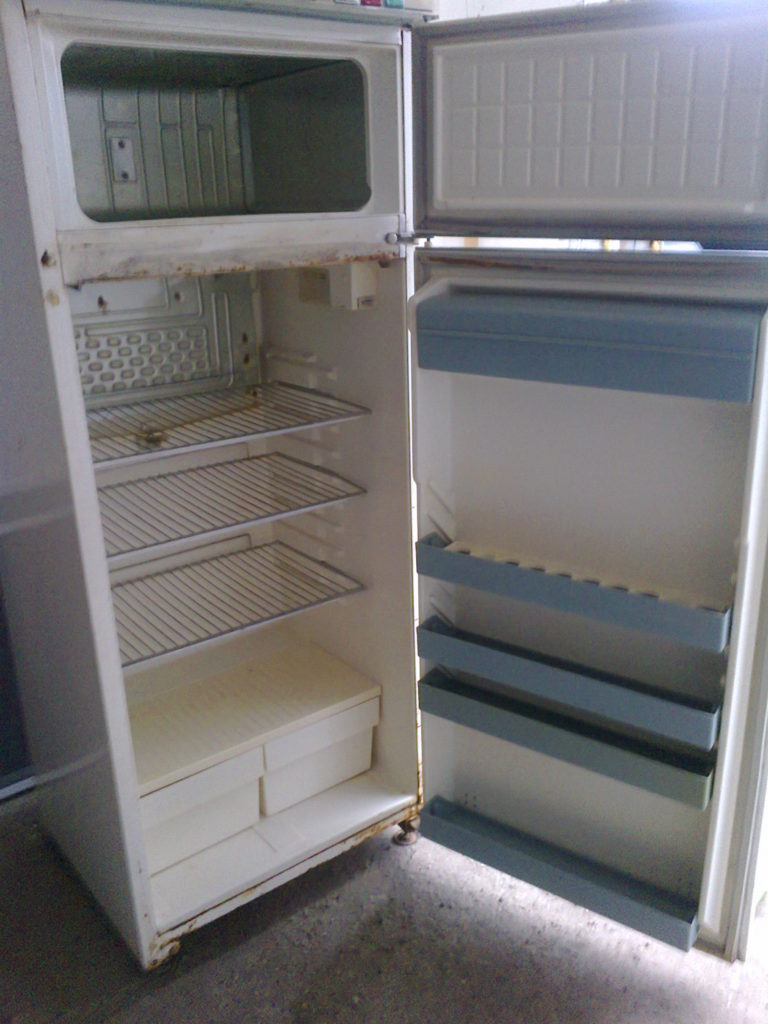
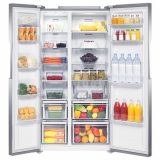
Freezer from an old refrigerator
To create a partition, you will need the following materials:
- one lattice shelf from the refrigerator;
- polystyrene foam backing with foil on one side;
- polystyrene bag for construction waste;
- Velcro closure.
Expansion of the freezer in an old refrigerator
First you need to measure the width and height of the door, which will be in the refrigerator. Height is measured from the top shelf, it will serve as the bottom of the new camera. Depth gauges will also be needed.
After all the measurements are recorded, it is necessary to cut the insulation material. Get two canvases. One will serve to insulate the shelves, the other - the door. The piece of cloth, which is intended for the shelf, is glued to the grate with tape.
The garbage bag should fit in width and length and have approximately the following dimensions: the width of the refrigerator and plus 3 cm for the Velcro. The length should be 10 cm longer than the measurements taken from the refrigerator (door height and chamber depth).
A textile clasp is attached to a building garbage bag using a sewing machine. It is sewn on three sides: along the bottom of the bag and on both vertical sides.
Thermal insulation is placed in the bag. The side with the foil should be facing inside the freezer to easily reflect the cold. So that the inside of the bag does not move, you can flash it on top diagonally. The edges of the slices can be fixed with tape. Previously, in the refrigerator, you need to remove unnecessary parts - the old door of the freezer and the tray under it. You also need to attach the second part of the fastener to the refrigerator case using small screws. The tape reliably fixes the door, the main thing is to monitor its tightness.
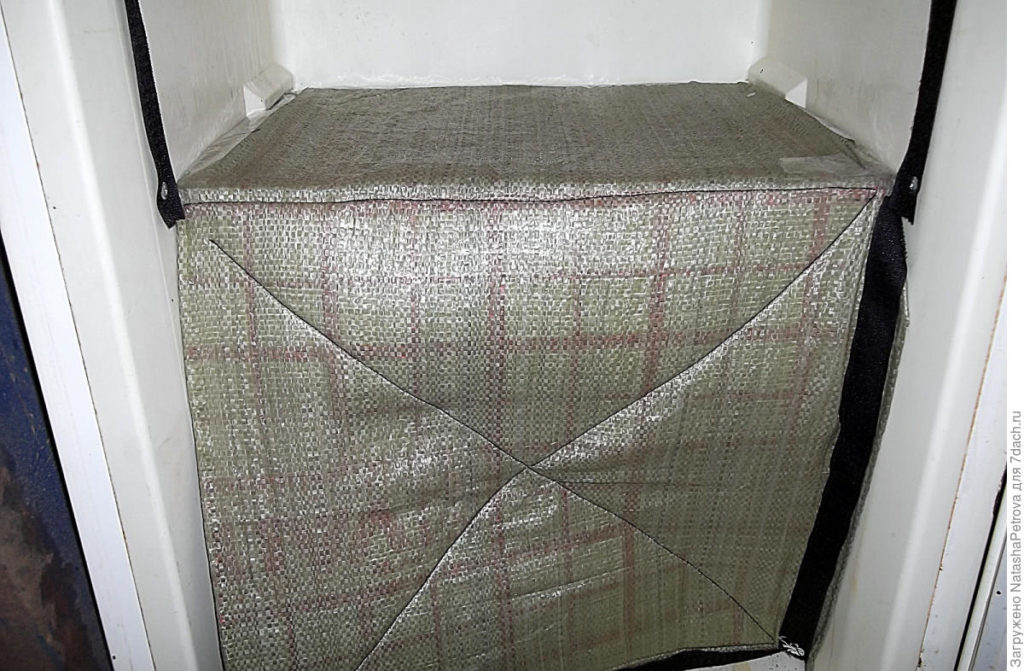
New features of the old refrigerator
Additional option
The scheme for converting an old refrigerator into a freezer is as follows:
- Dismantling the freezer.
- Dismantling the evaporator.
- Fastening the evaporator to the far wall of the refrigerator.
- Sensor Installation
- Health Check.
All models have their own characteristics, so they can be disassembled in different ways. If the refrigerator is workable, you should very carefully handle the tubes through which the liquid passes.
To achieve the necessary cooling effect, you need to choose the right place where the sensor will be located.
If the refrigerator is broken, then remaking it in the freezer is not always advisable. But in any case, you can find the cause of the breakdown and, if it does not require expensive repairs, fix it.
Creating a freezer from an empty room
To turn the room into a freezer, you will have to perform the following steps in the sequence in which they are indicated:
- To create a lattice from wooden bars, it should affect the whole room.
- Place reflective film.
- Fill the cells between the bars with insulation.
- Put foil at the joints and secure with tape.
- Then sheathe the room with galvanized sheets.
- Seal all joints with sealant.
- Install shelving.
- Installation of the finished monoblock and sensors that are responsible for adjusting the automation.
- A door is installed, covered with insulation material. She should not leave gaps.
- Health Check.
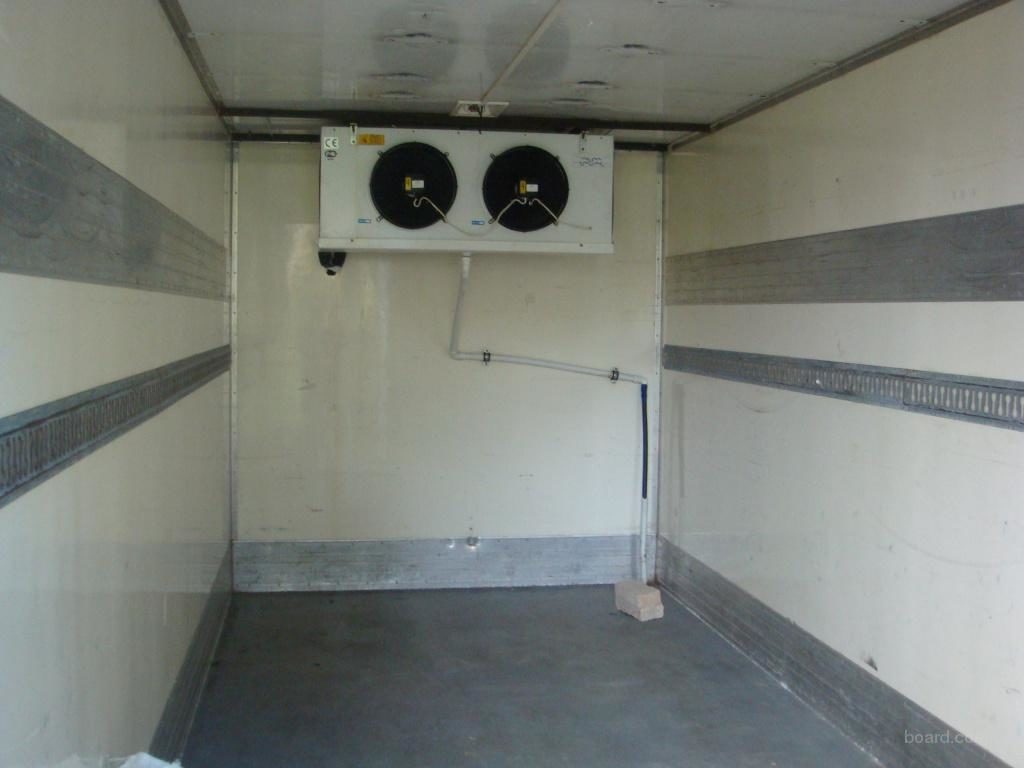
Creating a freezer from an empty room
For cellars, the system is even simpler: you just need to close the cracks, seal the door. You will also need to install a special split system.
Panel prefabricated cameras
To create a freezer, you will need to purchase a sandwich panel, which are connected using grooves. The kit along with the panels includes a door that has a lock and a handle. To exit the camera with the door locked, manufacturers provided an emergency button.
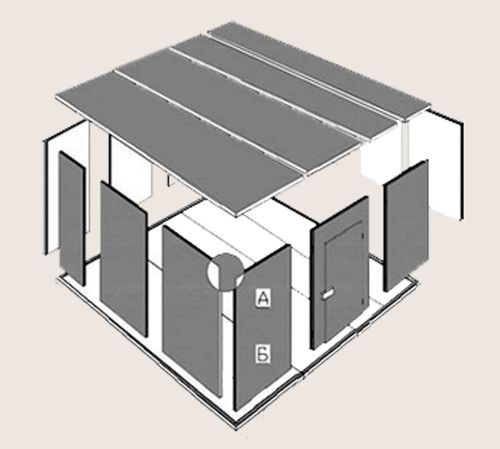
Installation diagram
To assemble the freezer from the panels, you will have to follow the following steps:
- Going to the floor. The floor panels are made of galvanized iron.
- The joints are sealed and the panels are tightly joined together.
- The walls are going. You can start from any angle. First, a right angle is made up of two panels and a corner element, which is also included in the kit.
- After the corner is ready, the walls gather. The movement takes place in a circle, and as a result, the walls close.
- Ceiling installation. The most difficult stage.It is necessary that the grooves of the walls coincide with the ceiling grooves. In this case, you have to call an assistant.
- Door mounting.
This is a fairly expensive way to create a freezer, but the device is durable and reliable.
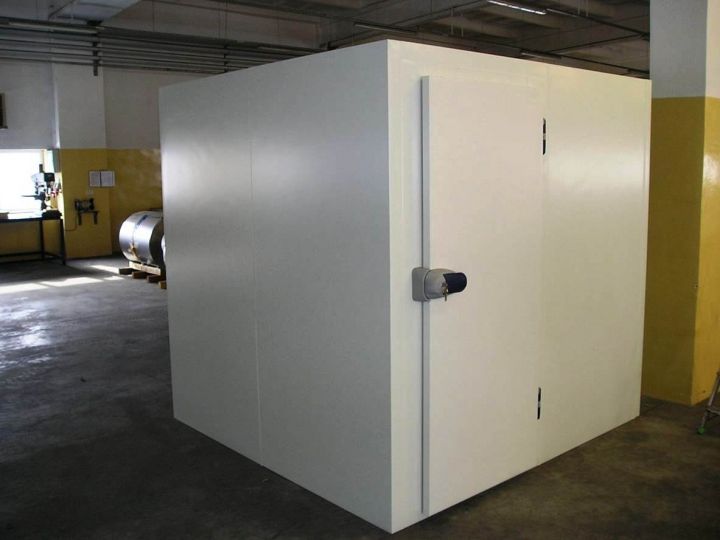
This is what a sandwich panel freezer looks like
There are also non-separable freezers made of sandwich panels. Their installation is much more complicated and requires special skills and experience with these structures. The advantage is that the refrigeration room can have an individual configuration, depending on the characteristics of the building.
Alternative methods
A small freezer can be created using Peltier elements. These are plates, one side of which radiates heat, and the other - cold. The workflow is as follows:
- You need to find a foam, wooden or cardboard box of about 30 by 60 cm. Next, you will have to insulate its walls.
- In the box, you need to cut a square hole, the fan and Peltier elements are inserted there.
- You can connect the device to the battery or to any existing power supply.
You can also create a glacier from the cellar. To do this, pipes must be laid on the walls and floor, which in turn are filled with kerosene. With this design, low temperatures are maintained even in summer. But for this option you will have to spend a lot of money.
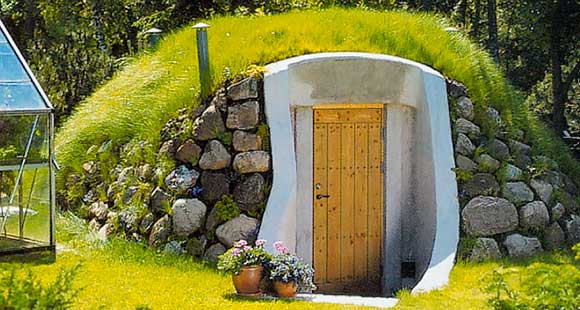
View of a modern glacier cellar
The freezer allows you to store dairy products, as well as fish and meat for a long time. In the summer, you can harvest a large number of berries. Do-it-yourself storage can be of any size or area. You can also adjust the temperature yourself.
If you need the lowest possible degrees, the cooling unit is equipped with powerful devices. If the temperature is +10 degrees, then a well-equipped basement or cellar is suitable.
We tried to figure out how to make a freezer out of an old refrigerator. This is not always easy, but in most cases it’s real. The result is an aggregate of the right size, temperature and cooling capacity. You can also save on installation costs, without resorting to the masters involved in this type of work.
 The freezer clicks or squeaks - what should I do?
  Setting and connecting the freezer (before and after defrosting)
  Atlant or indesite refrigerator - which is better
  Instructions on how to turn off the freezer in the refrigerator
  Compressors: which are and which are better
