It is wonderful when the cooking process is mechanized, then the creation of culinary masterpieces brings real pleasure. Alas, not every manufacturer puts detailed instructions on maintenance. Experts in the field of repair of household appliances will offer several ways to disassemble a multicooker of different models. With these tips, it’s great to save your family budget.

Assistant in the kitchen from the company "Moulinex"
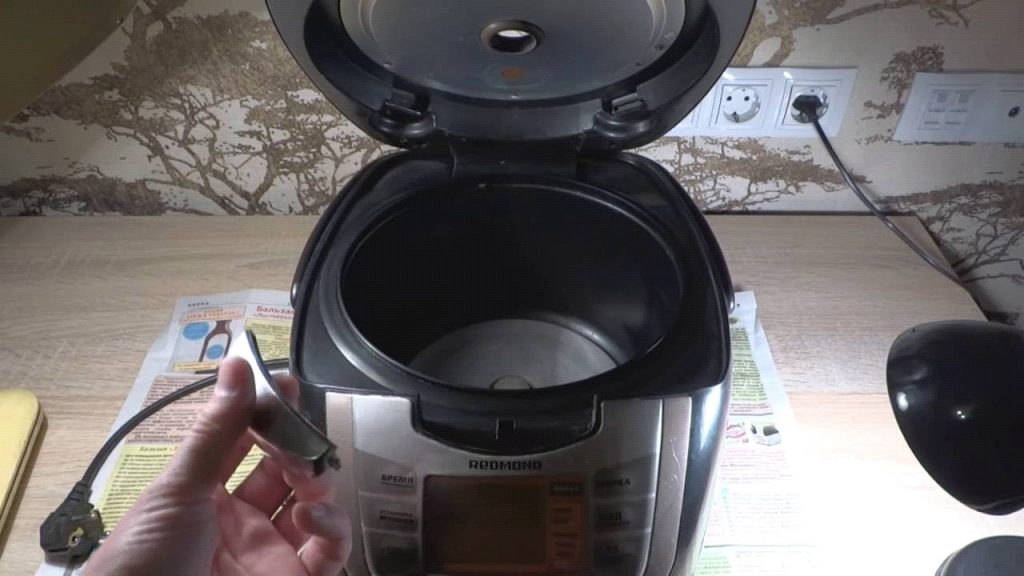
In most cases, it is not difficult to disassemble the multicooker, because they are assembled according to approximately the same scheme. For a home master who has at least once encountered repairs of electrical appliances, where the basis is a heating element, the principle of the device will be clear. Below are the main external parts of the case:
- Sealed cap with elastic, on top of which is a removable steam valve.
- Bowl for cooking (in older models it is built into the case, which is not very convenient).
- Metallic case, with plastic elements (the appearance and materials of decoration completely depend on the cost of the device: in the flagship models there are completely iron models).
- Button that opens the lid.
- Base (bottom).
- Inside, under the bowl, there is a disk of a heating element (TEN).
- Soft buttons, control panel screen (sometimes not available, in budget lines).
- Handle for easy carrying. It can be on top or on the body.

The device and configuration of the multicooker Polaris, middle class
And what about the miracle - pots?
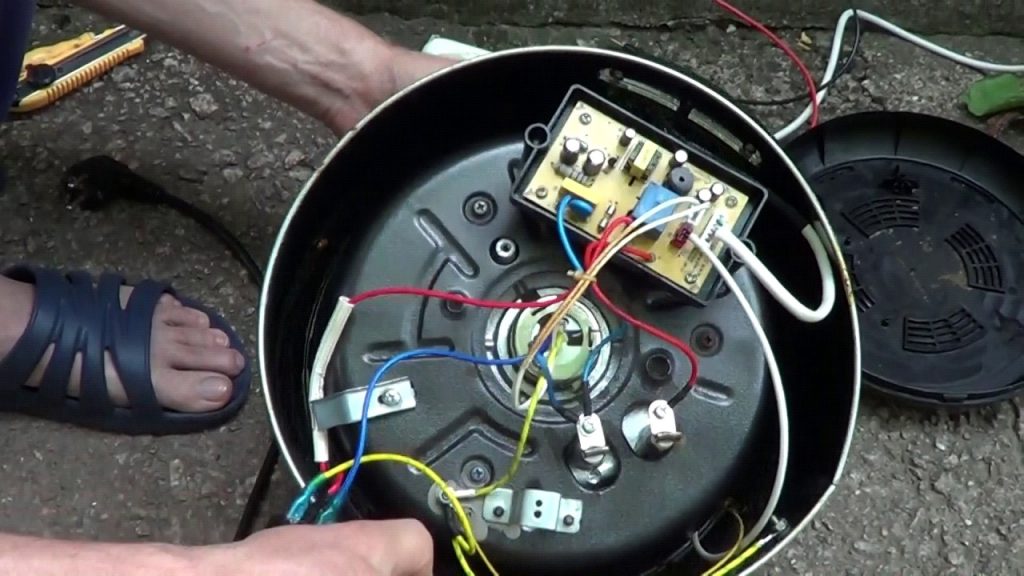
The figure shows which wires are at the bottom of the multicooker. Power is supplied through red wires. The switch (which brings the device into operation) and the thermal fuse (protects against overheating) are installed in series. The voltage from the thermal fuse is supplied to one terminal of the heater, on the power supply board. The white wire is directly connected to power. Through it, a voltage is applied to the second output of the heater; it closes the relay contacts.

Voltage wires for operation
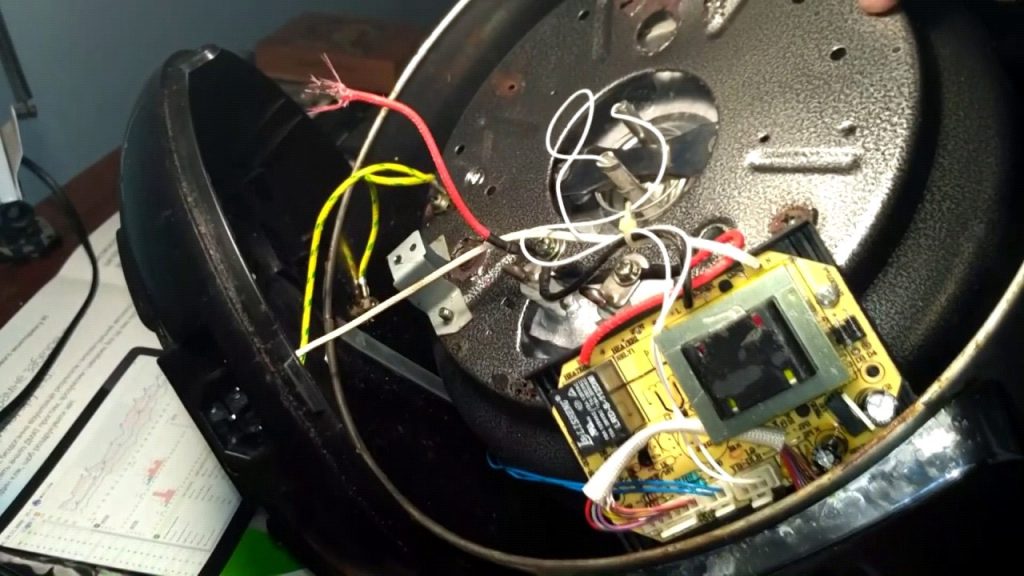
Under the heater is a power supply, with standard wiring. He is the most loaded part of the multicooker. His task is to convert the current in 220V to DC 5V and 12V (the first feeds the control unit with power, and the second - the switching circuit, activates the relay). The home network supplies power to the three-pin connector located at the bottom. A yellow-green wire stands out: this is the ground.

Schematic diagram of the internal device of the multicooker Redmond RMC-M23
Often, manufacturers mount a universal board in the device for the entire model line. Naturally, technological nuances are kept secret, because companies do not expect the introduction of self-taught masters into household appliances. When viewing a photo, an insulated metal round disk catches your eye. This is a battery that, when disconnected from the mains, stores the predefined cooking programs in memory.

The battery is shown below (yellow).
How to disassemble the multicook completely? Complete action plan
Temperature sensors are located in the lid and bottom of the product - therefore, you must disassemble the multicook extremely carefully so as not to disturb these thin wiring. One wire is connected to the touch screen. A lot depends on these details - they are the “brain” of the device.Due to damage to the temperature sensors, programs and cooking modes may fail. Moreover, the kitchen assistant may not turn on because the required set of heat indicators does not occur.
Training
- The device is unplugged, waiting for complete cooling.
- The lid is wiped off with fat with a soft cloth.
- If the fat is not rubbed, use mild detergents for dishes, without abrasives.
- Wipe the lid dry.

Removable screw element
Operating procedure
- The appliance cover is opened.
- In the area of the lid are two plastic clips. They need to be pressed and pressed towards the center.
- The upper sector is pulled towards itself, and then sharply down.
- All internal parts are thoroughly washed from food debris.
- To put the item in place, reverse actions are performed. If everything is installed correctly, the clips will give a click when they fit correctly.
If the product is broken and you need to see the internal details, and the master does not know how to carefully disassemble the multicooker, then:
- First of all, wipe with a rag all contaminated areas of the product.
- The appliance is turned downside down.
- The bottom cover holds the screw, unscrew it. Bottom to dismantle.

Dismantling the bottom
- All removable wires going to the board are disconnected.
- Unscrew the screws holding the heating element.
- Remove the thermocouple, all microcircuits.
- Unscrew the screw holding the top cover (when the model does not provide for removal). Then, squeeze the cover with a screwdriver, remove the temperature sensors.
- Remove the plastic rings on the latches (if they are along the edges of the metal case).
- The inner walls are removed from the outer.
The nuances and subtleties of the disassembly process
When considering the Redmond lineup, you can establish: the manufacturer takes care of the appearance of household appliances, reliably disguises all screws and bolts. If you take the multicooker of this company as an example of a middle class, you can find that there are screws - tricks on the case for decor. They play only an aesthetic role. The main ones are securely hidden under plastic.
On some models (Mirta, Polaris, Redmond, Vitek, etc.), screws holding the upper part with a triangular hole. The most common mistake of newcomers to repair is to arm themselves with a cross, to exert force, to put pressure on the hull.
Dents form from mechanical stress, which worsen the external state of the device. Therefore, it is wiser to use a triangular end screwdriver in this case, the length of which is from 100 to 120 mm.

Stylish design by Vitek
The flagship device is manufactured by the Mulinex company. The build quality is solid. The main advantage is the ease of removal of the inner cover. The entire removable structure rests on a silicone insert, which, thanks to its elasticity, holds the parts tightly. This design is more aesthetic than external screws.

Moulinex Advanced Model
Repair of minor damage to the cover and buttons at home. Mistakes
In multicookers of the budget class Delphi, Polaris, Roteks, Scarlet, Redmond, the button that closes the lid often breaks. Masters attribute this feature to birth defects. It happens that the button is not due to improper use, but due to exposure to high temperatures. If the device is under warranty, it is best to contact the service. To deal with this trouble, you have to disassemble the case, and break the seals.
When closing the lid, the hostess must first hold the button, and having completely closed it, release it. Less stress on the part reduces the chance of breakage.

Broken Open Button
Two repair options that do not require complete disassembly:
- The surface is degreased, glue is applied and magnets are applied in such a way that they meet after closing the lid. You can take one large, but preferably four small ones, to connect them in pairs.
- Two small holes for the stem are made in the dropped button. The same thing is done in the case, at the place of attachment of the latch. Then, push the rod through the removable part.Carefully insert the structure into the housing.
Parts are purchased at the store; use of improvised inventions is not advisable. Using them may cause a fire! Moreover, the price does not bite on elements that can be replaced at home. If the proper operation of the device is interrupted, system errors appear on the screen. Reading them, it will become clear what part needs repair and replacement.
E1, E2 - there have been changes in the operation of the power supply, the heating element, the lid is not tightly closed.
E3, E4, E5 - the device overheated and the protective function worked, the temperature sensor broke. In some models, with this breakdown, a picture is not displayed on the screen. If we are talking about the company "Redmond", then a possible ailment may be a damaged wire that goes through the body and cover. We disassemble, remove the plastic on this gap (snaps off with a screwdriver) and measure the resistance. The next step is to disassemble the bottom and ring the clamps under the heater.
All devices are equipped with fuses that blow out in any situations that, in the opinion of the developers, could lead to danger. For example, if the hostess turns on the device, while forgetting to install the bowl inside.
When purchasing a slow cooker, be sure to familiarize yourself with its characteristics: the presence of a removable lid, whether the gum should be replaced at home, how reliable the latch is. To extend the life of the appliance, observe hygiene inside and out, avoid the ingress of cereals and food debris, operate as intended and follow the instructions.

Cover with elastic
To accurately disassemble for parts, it is important to know the principle of operation of the multicooker. It seems that this usual-looking pan does not have a complicated scheme, but it is not. Inside is a fragile electrical part. It is easy to damage if rude to the body.
 The crock-pot turns off ahead of time in the extinguishing mode - remove the fault
  Causes and elimination of errors in multicookers, error codes e01-e05
  Rating of multicooker-pressure cookers for 2018-2019 - top of the best models
  What is 3d heating in multicookers and its features
  A slow cooker or pressure cooker - which is better: advantages and disadvantages of devices

