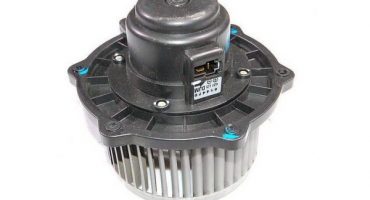
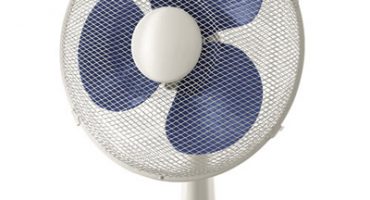
In most apartments there are no windows in the bathroom and the bathroom - and to create normal air exchange in the room, artificial ventilation should be provided. The operation of such a device allows you to ensure the optimum level of humidity, avoiding the appearance of mold and fungus on the ceiling and walls. However, it will have to be removed from the ventilation hole periodically for cleaning or replacement.
Knowing how to properly remove the fan in the bathroom and install it back, you can do the work yourself, without involving specialists.
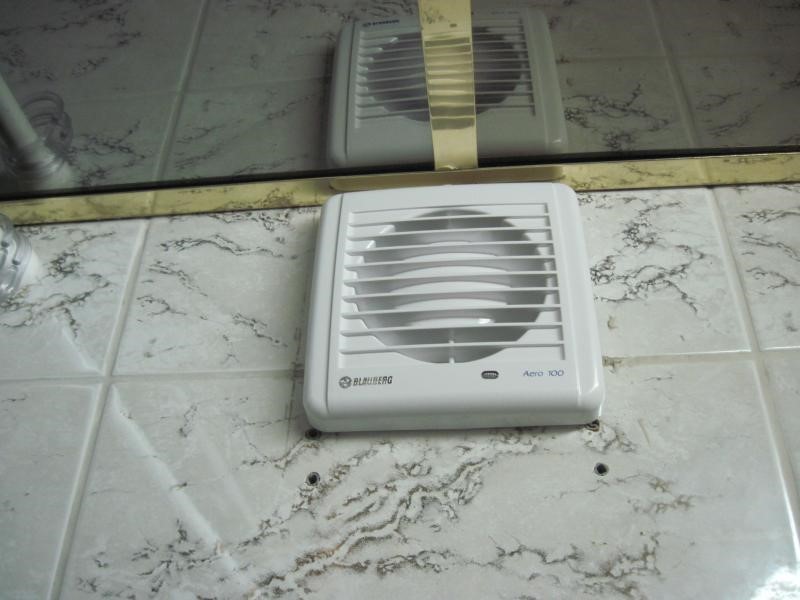
Fan on the bathroom wall
Reasons for removing the device
After several years of operation (or earlier, if you smoke in the bathroom or toilet), the efficiency of the exhaust fan is reduced. The causes of problems include:
- contamination of the blades of the device, which reduces the draft of the ventilation system;
- deterioration of the lubricant, which reduces the speed of rotation of the impeller and increases the noise level;
- wear of individual elements of the device requiring replacement.
Due to a decrease in air velocity through fan blades humidity in the bathroom or toilet increases, and the conditions are no longer so comfortable. You can correct the situation by periodically performing preventive maintenance of devices, and, if necessary, replacing them with new ones. When replacing, ventilation efficiency can be improved by choosing a more productive model.
You can find out that it is time to clean or replace the fan by the appearance of creaks and noises, due to which the device becomes a source of acoustic discomfort. In most cases, the air in this situation does not become too fresh, and the engine overheats, increasing the risk of failure of the device. Therefore, timely maintenance allows not only to improve air exchange and reduce noise, but also to increase the operating life of the fan.
Rules for removing the device
The first stage of replacing or cleaning the fan begins with the removal of the device. To do this, you must perform the following actions:
- Remove the fan grill, which is usually fastened with four screws, less often - on glue.
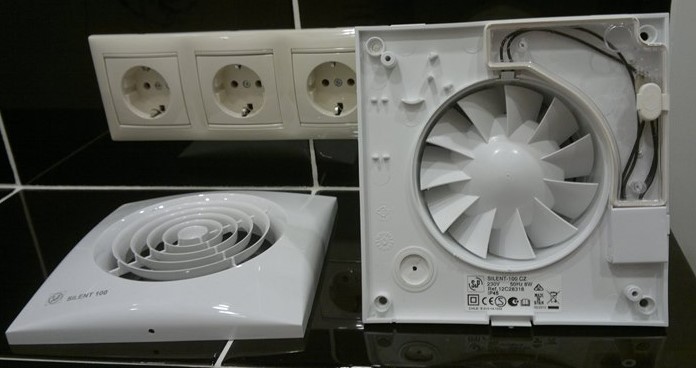
Grill fan
- Carefully remove the device (electricity should already be turned off) and disconnect it from the power supply - as a rule, in the bathroom it is connected to the light switch.
- Disassemble the device by removing the impeller, mounted on the shaft with the help of a collet clamp - to do this, just turn the fixing nut clockwise.
- Remove the electric motor of the equipment - for this, the fan is turned face up, and the wires are disconnected from the terminals. The motor is usually mounted on 2 screws and can be easily removed.
When removing the engine, it must be supported. If the recently working device is disassembled, it is advisable to wear gloves. Although it’s easier to wait a while, allowing the engine to cool.
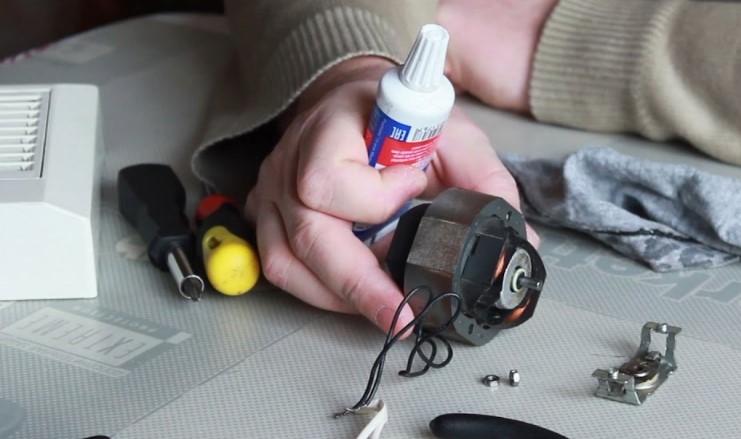
Removing an electric motor
Lubricating and cleaning parts
One of the most effective ways to restore the performance of the exhaust device is lubrication. For work, you should prepare engine oil and a regular syringe with a needle. The procedure is as follows:
- Allow the engine to cool, then clean and proceed with lubrication.
- To work, 2 drops of oil are required - the front bearing is lubricated first, the rear - second.
- Rotate the rotor of the electric motor, evenly distributing the lubricant over the area.
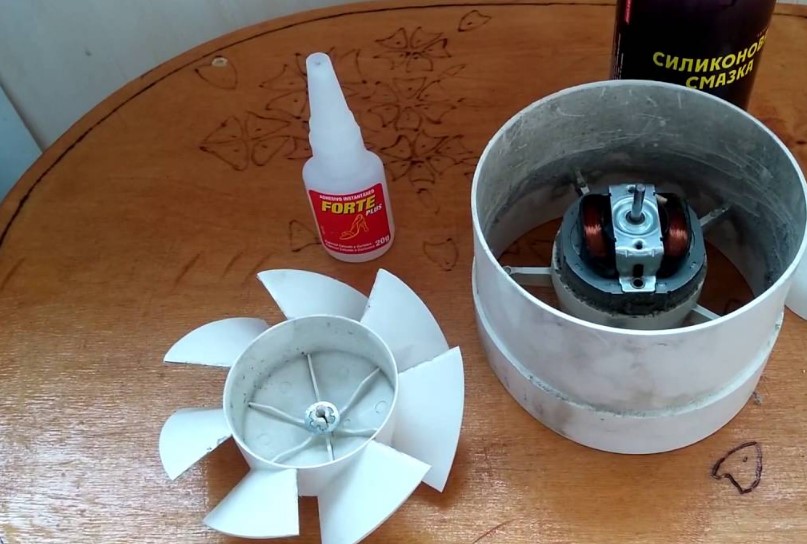
Motor lubrication
The next stage is the cleaning of all parts from grease, dust and dirt. To do this, rinse them under running water (it is advisable to clean plastic elements using household chemicals).Before installation in place, all parts are thoroughly dried.
Instrument assembly
The final step is to install the fan in the reverse order. To build the device should:
- Install the motor and connect the terminals.
- Carefully fasten the impeller.
- For fixing grease fan the back of its body with glue.
- Install the device in the hole, pressing it firmly against the wall or box.
- Attach the mosquito net first and then the front cover. Basically, it is mounted on self-tapping screws or special fasteners in the form of latches.
- Connect the fan to the mains - making sure that the electricity is turned off and using terminal blocks rather than twists.
To turn on the device, various schemes are used. One of the easiest is the usual button or cord on the device. The second option involves combining the start of the device with the inclusion of lighting - in this case, ventilation starts to work simultaneously with the light, which makes management more convenient. Separate inclusion of the fan is characterized by a more rational consumption of electricity - although at the entrance to the toilet and bathroom it will have to be launched separately. By making the device turn on automatically, according to the results of measuring the sensors, you can save time, although you will have to spend more money on the installation.
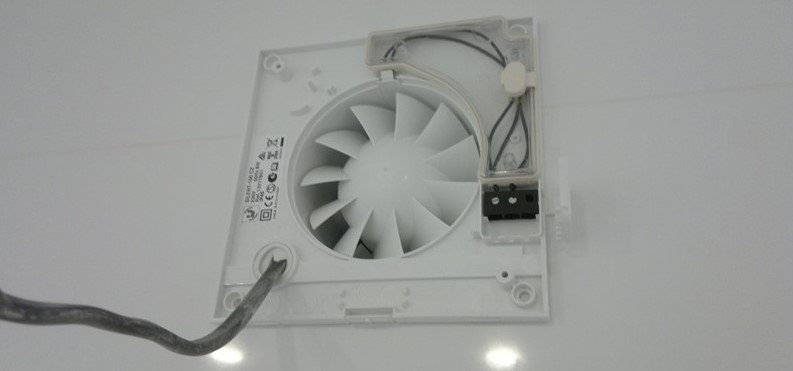
Mains connection
Each model has its own installation features. Therefore, before starting installation, it is recommended that you carefully read the instructions. Installing a new fan, if the device is being replaced, practically does not differ from installing the old model - especially if you choose a fan with the same geometric dimensions.
Having considered the features of returning the operability of the old fan, we can draw certain conclusions. Firstly, installation and cleaning is unlikely to take more than half an hour, and secondly, most of the problems are solved by removing contaminants and greasing old equipment. Thirdly, it is impossible to do without periodic removal and reinstallation of the device without reducing the efficiency of the ventilation system.
 Fan performance - how to find out and increase
  Fan speed - how to change the fan speed
  Do-it-yourself cone and fan blades for the fan
  Installation and selection of a fan for the bathroom and toilet
  Fans with a non-return valve - types and features